Uploading files is a common task in web development. Whether it's images, documents, or multimedia files, adding file upload functionality to your web application is essential for enhancing user interaction and overall utility.
We'll start with the basics of the file input element in HTML and progress to more advanced concepts like custom validations, file type limitations, capturing from the camera, and generating previews of selected files.
File Input Element
The foundation of file uploading in HTML lies in the <input type="file"> element. This simple yet powerful element creates a button on your webpage, enabling users to securely select files from their device's storage. It serves as the entry point for users to upload images, documents, or any other file type your application requires.
Here's a basic example of how it appears in HTML:
<input type="file" name="file">Code snippet for input file element
This code snippet generates a file selection button. When a user clicks the file selection button, their operating system's file picker is invoked, allowing them to choose the file they wish to upload.
See it in action:
You can select any file but that's it, upload is not working at this point.
Once chosen, the files can be uploaded to a server using form submission, or manipulated using JavaScript code and the File API.
<form method="post" enctype="multipart/form-data" action="https://imagekit.io/does-not-exists">
<input type="file" name="file">
<button>Upload</button>
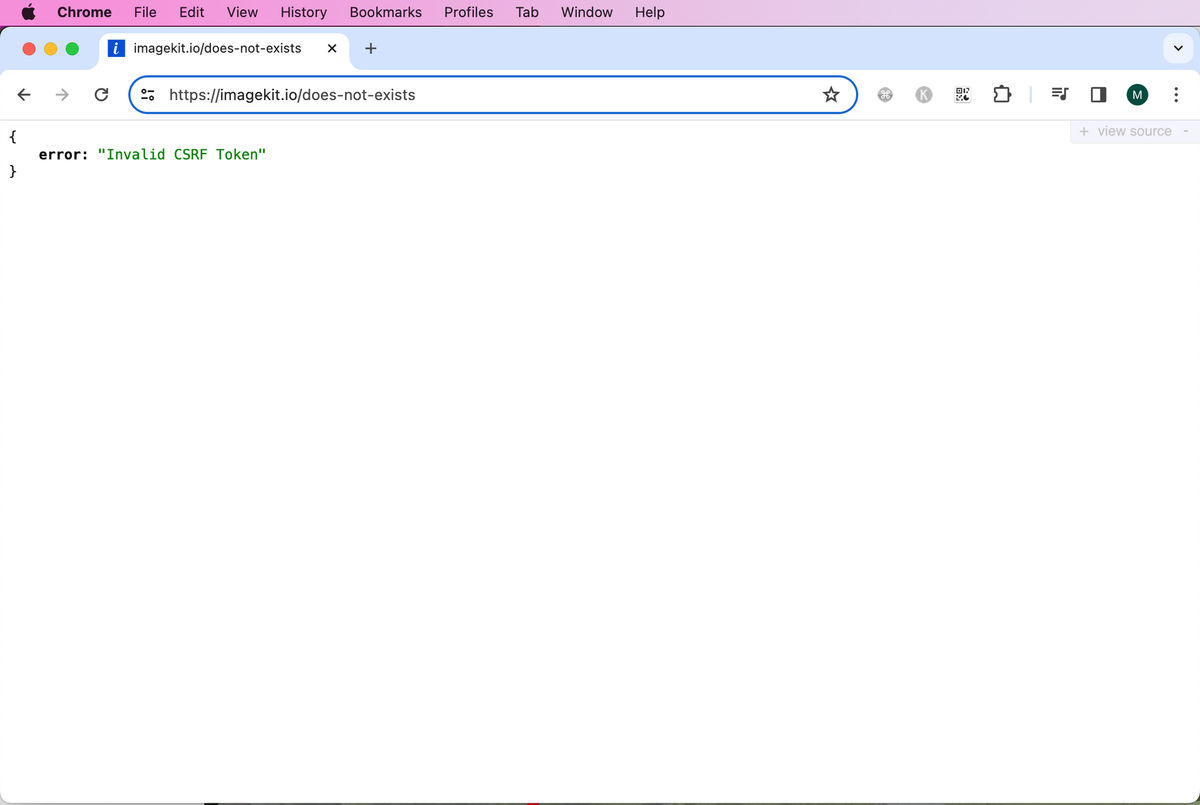
</form>Using above snippet, if you select a file and click Upload, browser will issue a POST request on https://imagekit.io/does-not-exists and you will see below page.
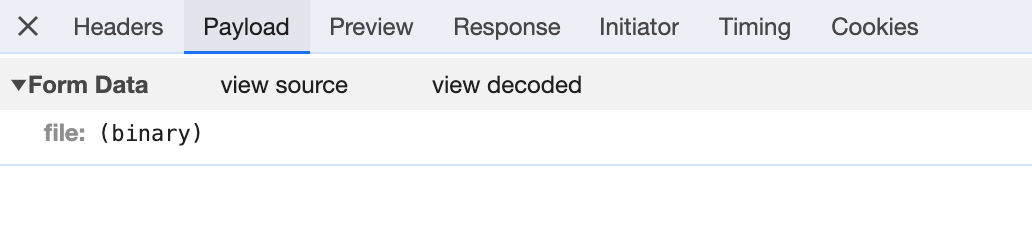
But if you do the same with DevTool open, we can see the multi-part form data. Chrome doesn't show the actual binary content. Just this.
If you click "view source", you will see:
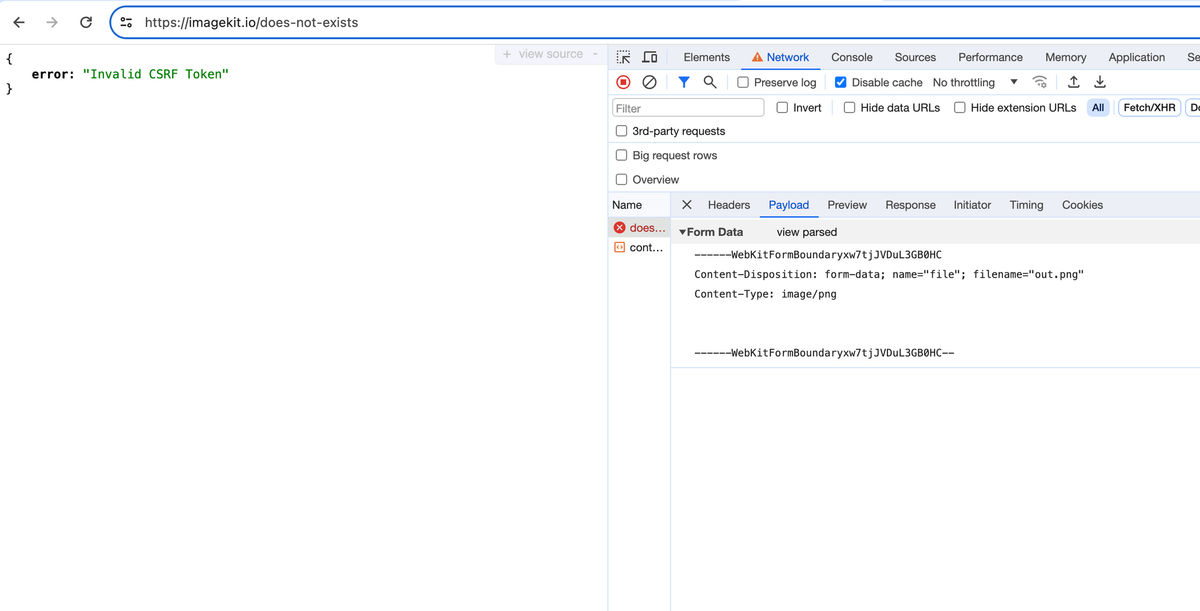
https://imagekit.io/does-not-exists is not handling the POST request correctly, but you can see how the browser is sending the current request.
Let's talk about various attributes of input.
Limiting accepted file types
To restrict the types of files users can select, use the accept attribute. This will streamline the file selection process for users, making it easier and more intuitive for users to select the correct file type.
For example, to allow only images:
<input type="file" name="file" accept="image/*">Click "Choose file" and try to select files.
Notice how only image-type files are selectable, and the rest are disabled.
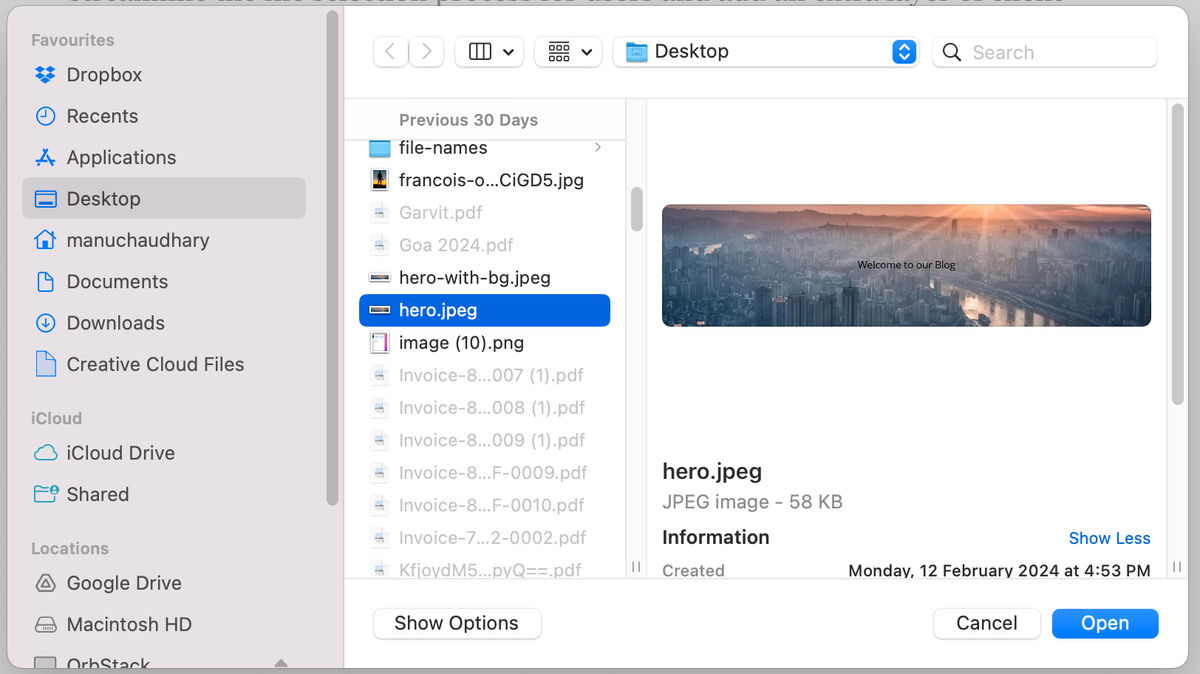
In this example, the accept="image/*" attribute limits the file picker to all image file types. This means file formats like JPEG, PNG, GIF, and others will be selectable, while non-image files will be filtered out.
You can specify multiple types:
<input type="file" name="file" accept=".pdf, .docx, .xlsx">It's important to note that the accept attribute is a guideline for the file picker and relies on file MIME types. Users can still manually choose to display all file types and select files that don't match the specified criteria. Therefore, while the accept attribute improves user experience and adds a basic filter, it should not be the sole line of defense. Always pair it with robust server-side validation to ensure that the uploaded files are indeed the types that your application expects and can safely handle.
Button customization
While the default file input button is functional, it's often not very appealing and may not align with the design aesthetics of your application. To create a more visually appealing and consistent user interface, you can hide the default file input and use a custom-styled label as a proxy button for file selection.
Here's how you can achieve this:
First, you set the file input's opacity style to 0, effectively hiding it from the user interface:
<input type="file" id="file" style="opacity: 0;">Next, you create a label element and associate it with the file input using the for attribute, which should match the id of the input element. You can then style this label as you would any button.
<label for="file" class="button"
       style="background: #0450d5;
             color: white;
             line-height: 1.2;
             padding: 15px;
             border-radius: 4px;
             cursor: pointer;">
    + Upload File
</label>
Here, clicking the label styled as a button will open the file selection dialog.
+ Upload File
Using opacity to hide the file input is a more accessible approach compared to using visibility: hidden or display: none. This method ensures that the file input remains functional and interactive, especially for users relying on assistive technologies such as screen readers.
Along with opacity:0, you can also use position: absolute; z-index: -1; to remove native input element from the normal flow of the document and prevent it from taking up space or blocking other elements, while still keeping it functional.
Capture from camera
The HTML5 capture attribute is a powerful feature that enhances the file input element for mobile users. It allows you to directly access the camera or other media capture devices on a user's phone.
This is particularly useful in applications where users need to upload images or videos taken at that moment, like in social media posts, profile picture updates, or document uploads in verification processes.
<input type="file" accept="image/*" capture="camera">Try on your mobile phone:
Getting information on selected files
When a file is selected, you can retrieve its information using JavaScript. This is useful for validation, displaying file names, sizes, or types:
<input type="file" id="fileInput">
<div id="fileInfo"></div>

<script>
  document.getElementById('fileInput').addEventListener('change', function(event) {
    var file = event.target.files[0];
    var fileInfo = `
      <p>File Name: ${file.name}</p>
      <p>File Size: ${file.size} bytes</p>
      <p>File Type: ${file.type}</p>
    `;
    document.getElementById('fileInfo').innerHTML = fileInfo;
  });
</script>
See this in action:
When a user selects files through the HTML <input type="file"> element, these files are accessible via the HTMLInputElement.files property. This property is a FileList object, essentially a collection of File objects. The FileList can be treated similarly to an array, allowing you to use its length property to determine the number of files selected by the user.
Each File object within this list provides several pieces of information about the file:
- name: This is a string representing the name of the file.
- lastModified: This property returns a long integer, indicating the time the file was last modified, measured in milliseconds since the UNIX epoch (00:00:00 UTC on January 1, 1970).
- size: It provides the size of the file in bytes, useful for validating file size before uploading.
- type: This is a string indicating the MIME type of the file, which can be used to validate the file format.
Creating image preview of selected files
To provide a more interactive and user-friendly experience, displaying previews of selected image files can be a great addition to your web application.
For this we will use URL: createObjectURL() method.
URL.createObjectURL(object)
objectcan be aFile,Blob, orMediaSourceobject to create an object URL for.
We already have File on change event.
So our code looks like:
<label for="fileInput">Choose image files to see preview</label>
<input type="file" id="fileInput" accept="image/*" multiple>
<div id="preview"></div>

<script>
	document.getElementById('fileInput').addEventListener('change', function(event) {
    var files = event.target.files;
    var preview = document.getElementById('preview');

    // Clear any existing content
    preview.innerHTML = '';

    // Loop through all selected files
    for (var i = 0; i < files.length; i++) {
      var file = files[i];

      // Only process image files
      if (!file.type.match('image.*')) {
        continue;
      }

      var imgContainer = document.createElement('div');
      imgContainer.style.marginBottom = '20px'; // Spacing between each image container

      var img = document.createElement('img');
      img.src = URL.createObjectURL(file);
      img.style.height = '100px';
      img.style.display = 'block'; // Ensure the image is displayed in a block to put it on a new line
      img.style.marginBottom = '10px';

      var fileInfo = document.createElement('p');
      fileInfo.textContent = `File Name: ${file.name}, Type: ${file.type}, Size: ${file.size} bytes`;
      fileInfo.style.fontSize = '14px';
      fileInfo.style.marginTop = '0';

      // Append the image and file info to the container
      imgContainer.appendChild(img);
      imgContainer.appendChild(fileInfo);

      // Append the container to the preview div
      preview.appendChild(imgContainer);
    }
  });
</script>
Code snippet to show image previews of selected files
See this in action:
Custom validation on file selection
Sometimes, you may need custom validations like limiting file size. This can be done using JavaScript by using size property on File object.
Suppose you want to allow users to upload multiple files and show list of files which exceeds 1MB size.
<input type="file" id="fileInput" multiple>
<div id="message"></div>

<script>
  document.getElementById('fileInput').addEventListener('change', function(event) {
    var files = event.target.files;
    var messageDiv = document.getElementById('message');

    messageDiv.innerHTML = ''; // Clear previous messages

    for (var i = 0; i < files.length; i++) {
      var file = files[i];

      // Check if file size exceeds 1MB
      if (file.size > 1048576) { // 1MB in bytes
        messageDiv.innerHTML += `<p>${file.name} is too big! Maximum file size is 1MB.</p>`;
        this.value = ''; // Clear the field
        // Optionally, you can break the loop if you don't want to process any files if one fails
        // break;
      }
    }

    if (messageDiv.innerHTML === '') {
      messageDiv.innerHTML = '<p>All files are within the size limit.</p>';
    }
  });
</script>
Code snippet for custom validation on file size
The example looks like this:
Conclusion
Handling file uploads in HTML is straightforward but offers plenty of scope for customization and advanced functionality. Whether customizing the file input button, validating file size, or creating image previews, these techniques form the foundation of a modern file upload functionality in your web applications. Always consider the security aspects when handling file uploads to protect your server and users.
As a developer, you will find ImageKit.io helpful in handling file upload in HTML. It has a forever-free plan. ImageKit.io will help you upload files directly from the browser with a few lines of code. You can use quick start guides available in many frontend frameworks, e.g., React, Vue.js, Angular, etc., and implement HTML file upload using ImageKit.io free API.


