With content becoming central to all marketing activities, marketing teams across companies are churning out new graphics and other assets more frequently than ever. Given the explosion in the amount of content getting created, teams need to find new scalable ways to manage these digital assets. Not just that, but with so many different devices, and multiple channels like emails, social media, websites, etc. to reach to your users, you need to optimize these assets correctly for that user to create a delightful experience.
That is precisely what ImageKit's Media Library does. Built on top of a globally distributed storage and delivery infrastructure, it simplifies image management and delivery to your users to create an experience that all stakeholders - the content producers and consumers (and Google) - love. And you can start using it for absolutely free ;)
Let's look at how you can use it in your workflow and simplify digital asset management.
1. A central asset storage for your team that is ready for the web
When your creative teams are churning out several assets every day, you need to have a central place for your entire team to store and share these assets. It is a lot easier than sharing them over emails and keeping track of revisions. Your graphics team can now upload the raw files like Photoshop, Illustrator, etc. along with the finished exports like JPG, PNG, etc. in the same place. Then your content or marketing team can pick up assets as per their requirement from there.
One could argue that your team can use even Dropbox or Google Drive for the same. While these tools are useful for image storage, as we move forward in this article, we will look at advanced search, image optimization, and transformation features in ImageKit's media library that makes it a better fit for use on the web.
2. Simplify management of your digital assets
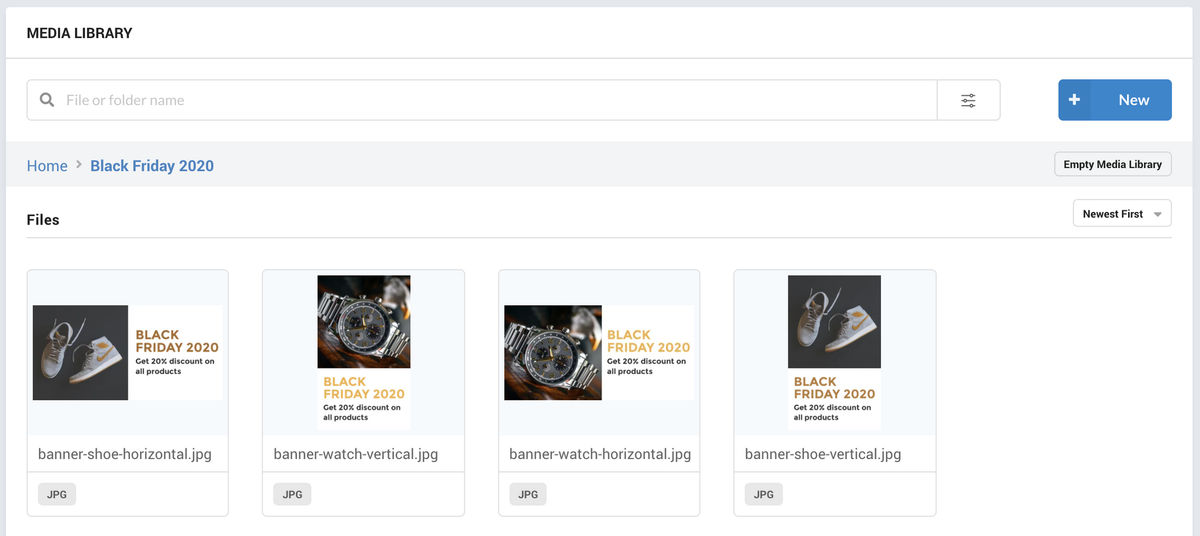
ImageKit Media Library provides you with powerful operations to manage your digital assets. You can organize your files in different folders. For example, you could create a folder named "Black Friday 2020" and put all your web, app, and notification banners in that folder.
You can also copy, move, or delete multiple images in one go. For example, if you are running the same banner for Black Friday and Cyber Monday, you can copy all the assets from one folder to the other.
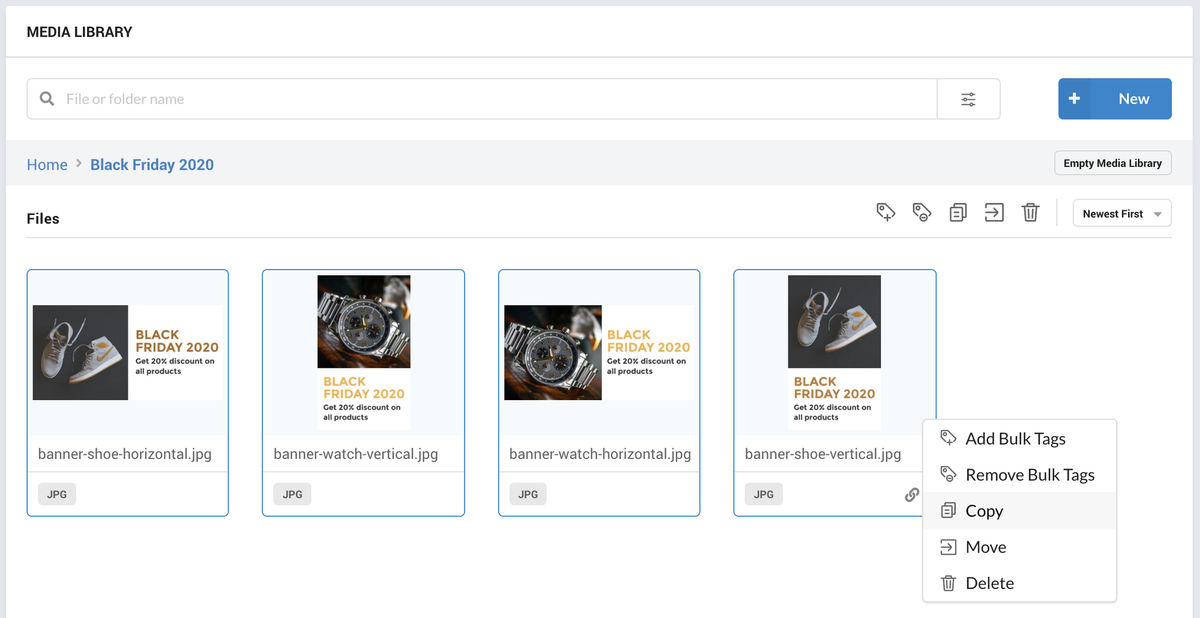
ImageKit also provides one more way to manage your assets, and it is the best of them all - image tagging.
Image tagging allows you to attach more information to an image than what is just represented by its name.
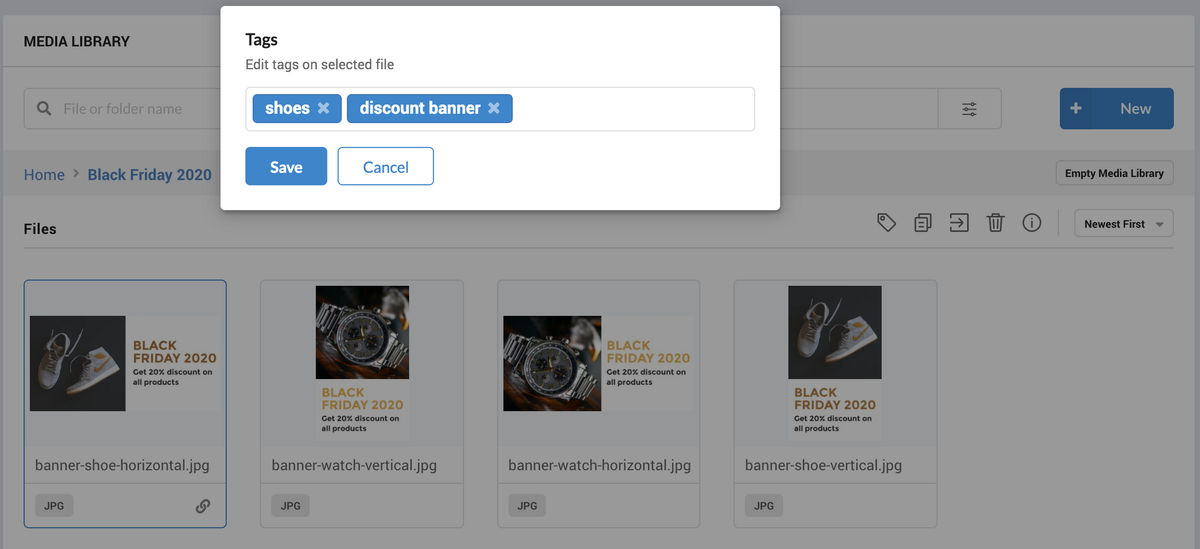
With ImageKit, you can create tags in the media library or use the AI-powered auto-tagging extension which uses Google Cloud Vision and AWS Rekognition, two industry-leading APIs that help label commonly known objects in an image.
In the example below, we have the same banners with similar offers, but different products to go along with them. So, we can tag each banner with the corresponding product like shoes, watches, etc.
How would it help? Read on.
3. Find assets when you need them and save a LOT of time
You must often find yourself in a situation where you need to find an asset made by your graphics team in the last month, and you search for it on email, Dropbox, and yet, can't find it. Then you go back to your graphics team, asking them to share the resource again in the right exported format.
According to leading research, your team spends almost 20% of their time searching for files and then more time in redoing the work they had already done. That's more than one full day in a week wasted just searching for files.
ImageKit's media library not only offers an easy interface tailored for managing and viewing media files, but it also comes with better search functionalities that make it a superior choice over other storage solutions. You can not only search for files by their name but also by the tags associated with them, their dimensions, size, format, transparency, upload date and a lot more.
Here is a quick look at the search in the dashboard with its vast filtering options.

Now, there can be cases when you want to search for a file with a set condition.
ImageKit's advanced search offers you conditional search with which you can combine and & or conditions to your search for a faster & effective result.

Searches come back with a pile of images/videos, and there is a need to sort them, which is where the sorting filter in ImageKit comes into action.
Sort your search results by name, first uploaded date, last updated date, image dimension, or size

ImageKit's advanced search filter is certainly a powerful feature that keeps workflows optimized.
But, there is another missing piece in the puzzle that needs to be addressed.
The security of your assets.
4. Control access to your content
In a marketing team, different roles would engage differently with the assets.
For example, your graphics team would be responsible for uploading and managing the assets, whereas your content team needs just to search and download them.
ImageKit media library comes with two user access levels, specific to the Media Library - the editor and the viewer access.
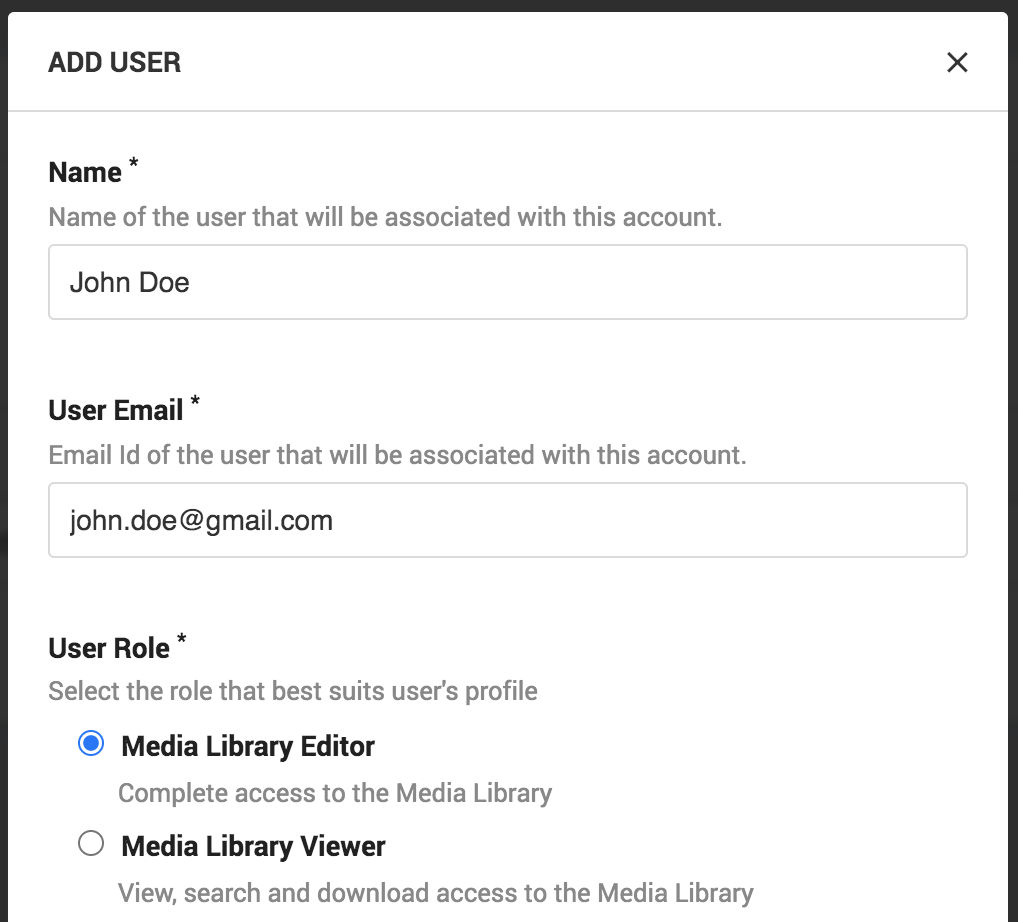
As the names suggest, the editor can take all possible actions in the media library. In contrast, the viewer can only search and access the images for blogs, emails, social media, etc.
5. Instantly optimized images ready for the web
This is the best part of the media library and puts it miles ahead of other storages. You can not only store images in the media library, but you get ready-to-use image URLs with automatic image compression and best image format selection built-in.
As marketers, one of the goals is to optimize the page load time and SEO of the website. Ensuring that the images are light and load quickly plays a crucial role in that. With ImageKit's media library, you no longer have to worry about this AT ALL.

You can directly use the URL you get after you upload an image to the media library on your blog, email, app notification, social media, etc. It automatically compresses the image without distorting visual quality and switches to modern, lighter formats like WebP whenever possible to reduce image size further. Google will love them for SEO, and so will your users.
6. No need to go back to your graphics team for resizing of images
Want a smaller, resized variant for the banner your team just sent you? No worries, you can do it yourself, and in real-time.
ImageKit allows you to add resizing parameters to your image URLs for real-time transformation. Just specify the height or the width that you want, and you will get it immediately. This frees up your graphics team to create other assets and makes it faster for you to get perfectly-sized images for different user devices.
https://ik.imagekit.io/ikmedia/Black_Friday_2020/banner-shoe-horizontal.jpg?tr=w-360The sale banner resized to width 360px for mobile devices using the parameter ?tr=w-360 at the end of the URL

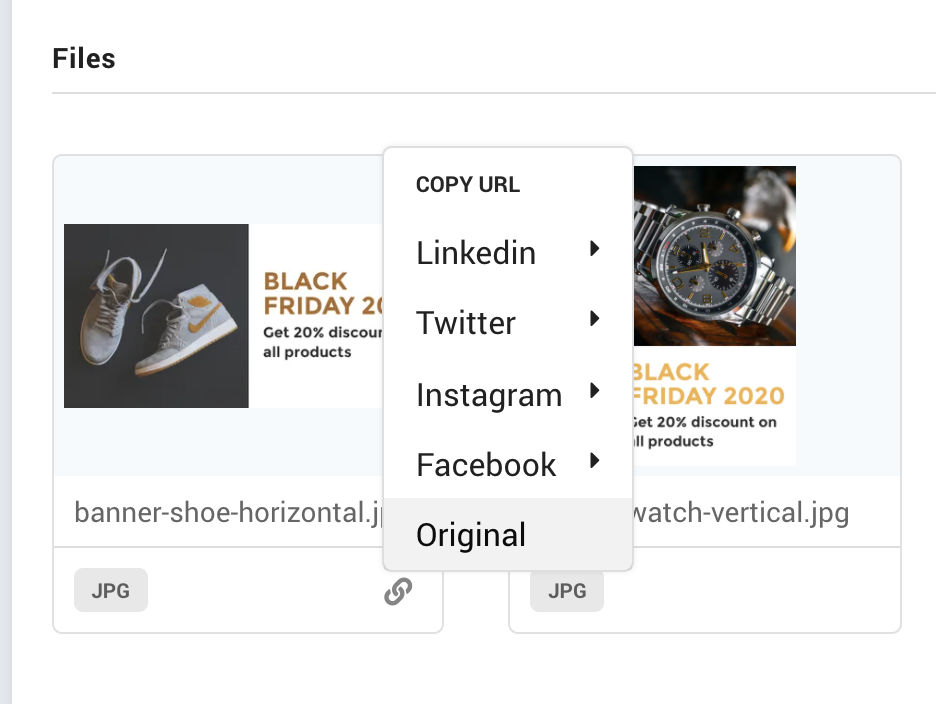
And to make things even simpler, you get ready-to-use URLs with resized images that comply with specifications of common post types on Facebook, Instagram, Twitter, and LinkedIn.
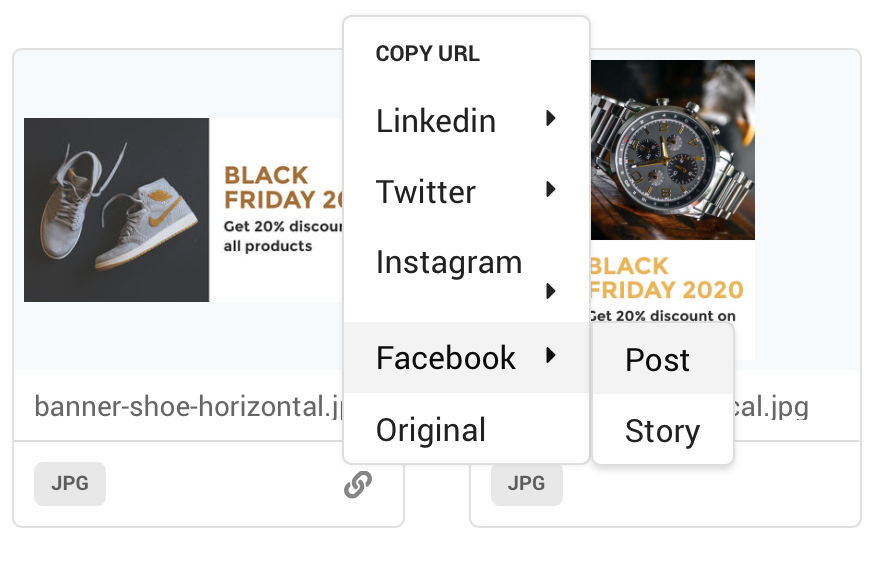
https://ik.imagekit.io/ikmedia/Black_Friday_2020/banner-shoe-horizontal.jpg?tr=w-1200,h-630,fo-autoCopying the Facebook Post URL resizes the banner to 1200x630 as per Facebook's specification
In case you'd still like to edit images manually you can do it directly from the media library. Check out ImageKit's guide on editing product images.
Bonus: In case you need to remove the background of an image, you can use ImageKit's latest Background removal extension and achieve it easily & eliminate the dependency on a designer!
Wrapping it up
We have seen how ImageKit's media library can simplify your team's content management and delivery workflow, helping them become more efficient with their time and delivering perfect images to your users across all channels.
And you get to use this for absolutely free! Just head to ImageKit and sign up for a free account to start using the media library.
What are you waiting for then? Go ahead and delight your team and users.


![The ultimate rebranding checklist [2025]](https://ik.imagekit.io/ikmedia/blog/ghost/content/images/2023/09/Rebranding-checklist_ImageKit-blog.jpg?tr=w-750,c-at_max)
