
Headless DAM
Connect assets across your CMS, marketing tools, product applications, and internal systems with ImageKit's APIs, native integrations, widgets, and desktop apps. Or go headless the modern way: with MCP, AI agents run your DAM and orchestrate workflows across the tools your team already uses.
WHY HEADLESS DAM
4 reasons why teams love a headless DAM
Custom asset workflows
Build the exact UI and workflow your users need on top of APIs for upload, search, metadata, and delivery, instead of bending to a fixed interface.
Embedded where your team works
DAM features live inside your CMS, PIM, and marketing tools through integrations and widgets, so teams never switch context.
Developer freedom
Developers pick their own language, framework, and frontend, and automate uploads, governance, and publishing with SDKs and webhooks.
AI-native workflows for modern teams
Not just for developers. Through MCP, marketing, creative, and other business teams can find, organize, and share assets by simply asking Claude, ChatGPT, or their AI assistant of choice, within their own permissions.
ImageKit: Headless and traditional DAM in one platform
| Capability | Traditional DAM | Headless DAM | ImageKit |
|---|---|---|---|
| Upload and manage via UI | |||
| API-driven access and delivery | |||
| Embeds into existing tools | |||
| Supports automated workflows | |||
| Ready for non-technical teams | |||
| Work with third-party AI agents via MCP |
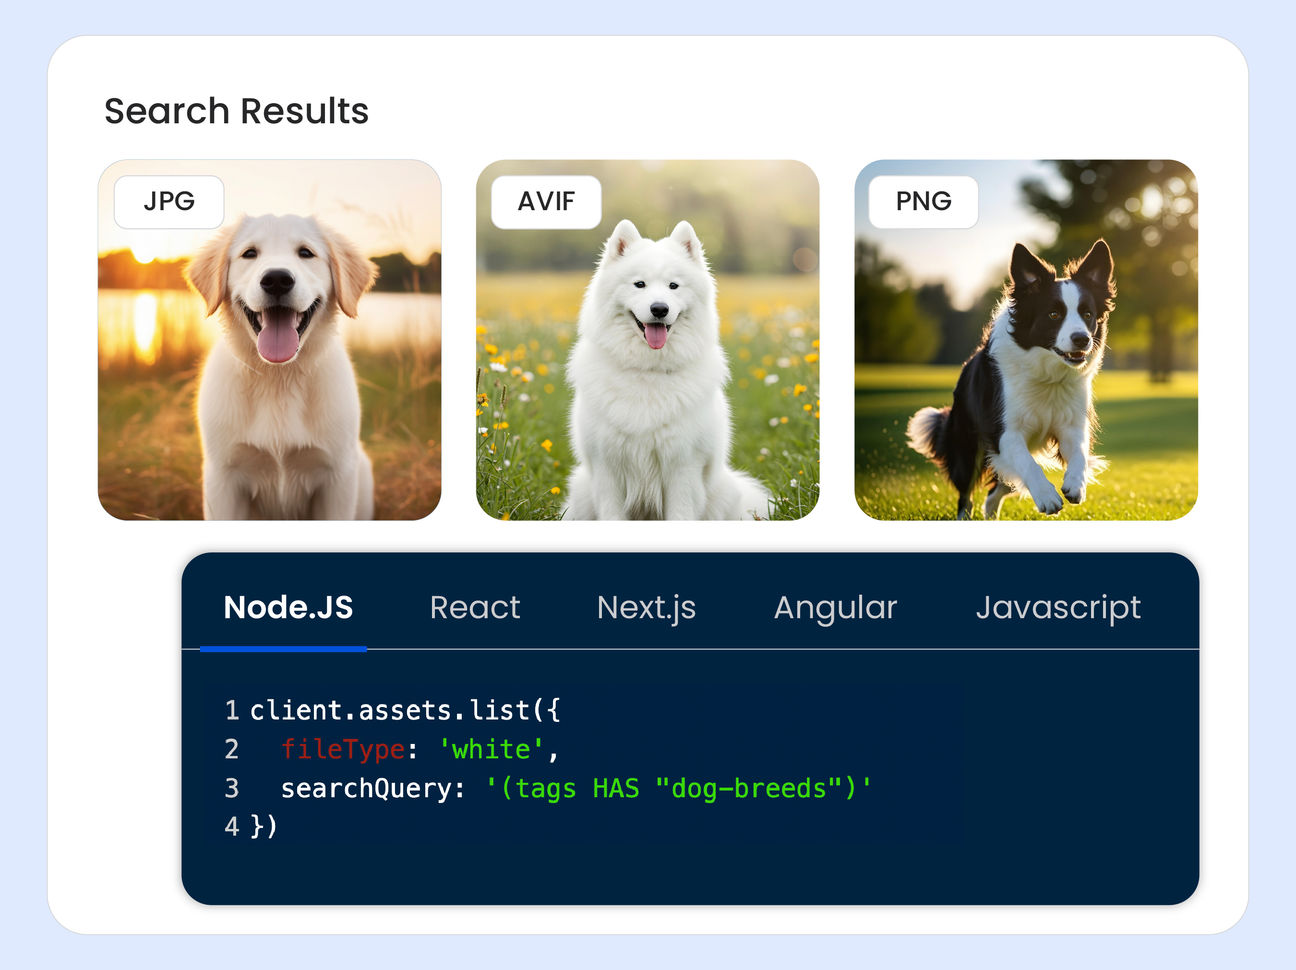
Fully programmable workflows using APIs
Access every DAM capability via APIs - from upload and metadata management to search, tagging, versioning, and publishing.
Build custom workflows tailored to your stack and business logic instead of forcing teams into rigid systems.
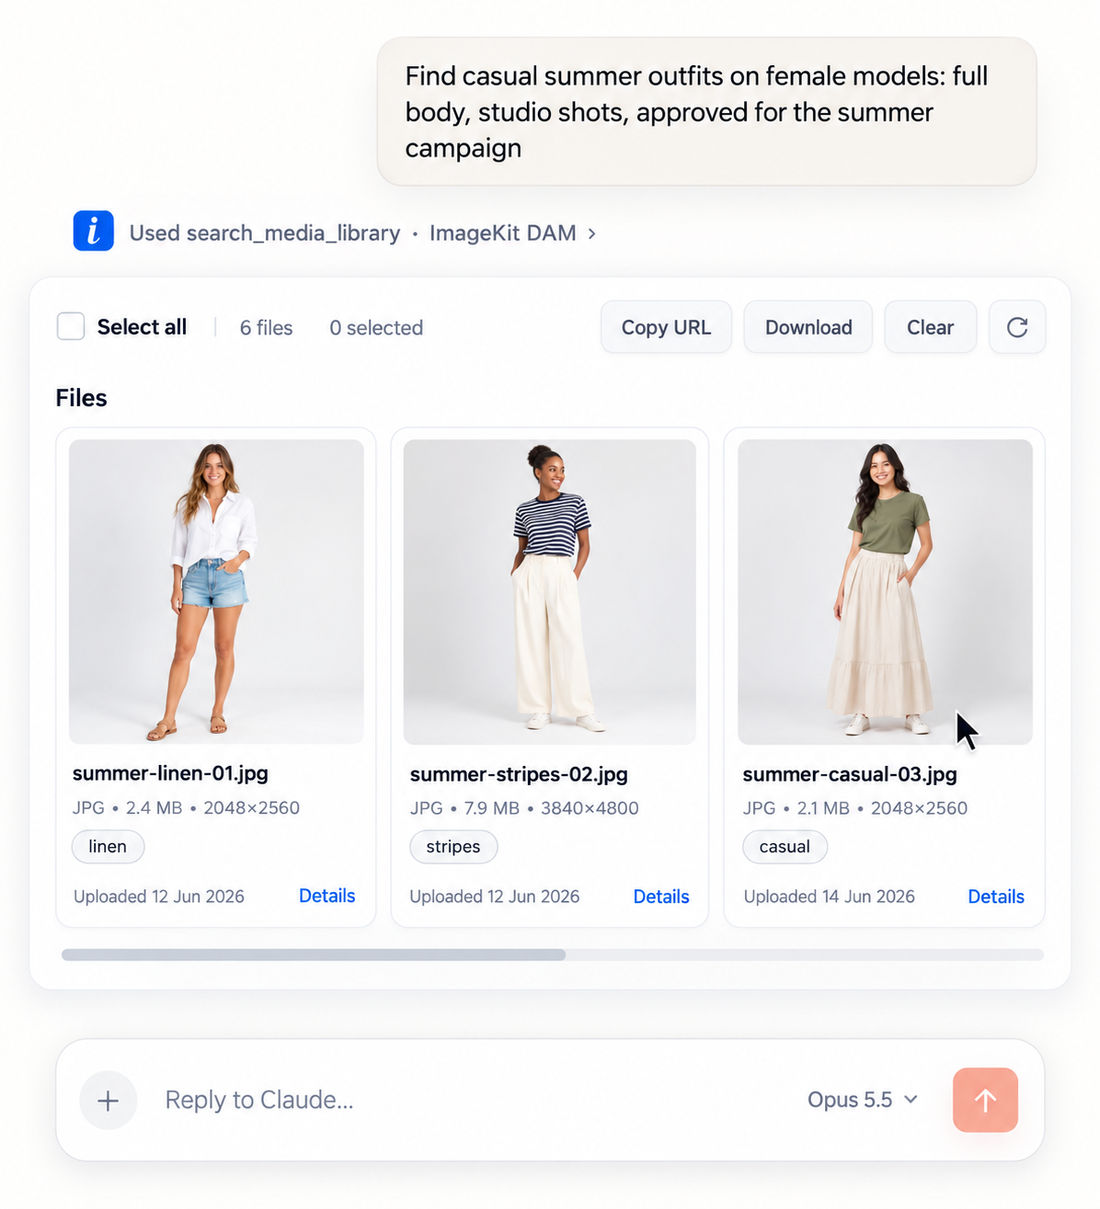
Connect ImageKit DAM to your AI assistants
The hosted DAM MCP server lets Claude, Cursor, VS Code, and Copilot work directly in your media library, scoped to each user's own permissions.
- Manage — Search in plain English, like "summer outfits, full body, studio shots".
- Create — Turn "Adidas t-shirt banner, 50% off" into on-brand banners using approved assets.
- Govern — Flag expired rights, missing alt text, and bad file names. Fix after review.
- Publish — Update your site's gallery with approved assets from Cursor or Claude Code.
Native integrations with your existing stack
Connect ImageKit DAM directly with CMS platforms, marketing automation tools, PIM systems, and creative applications, with an ever-growing set of native integrations.
Ready-made integrations include Magento, WordPress, Shopify, Netlify, Strapi, Contentful, Sanity, and Storyblok.
Assets stay centralized while teams continue working in the platforms they prefer.
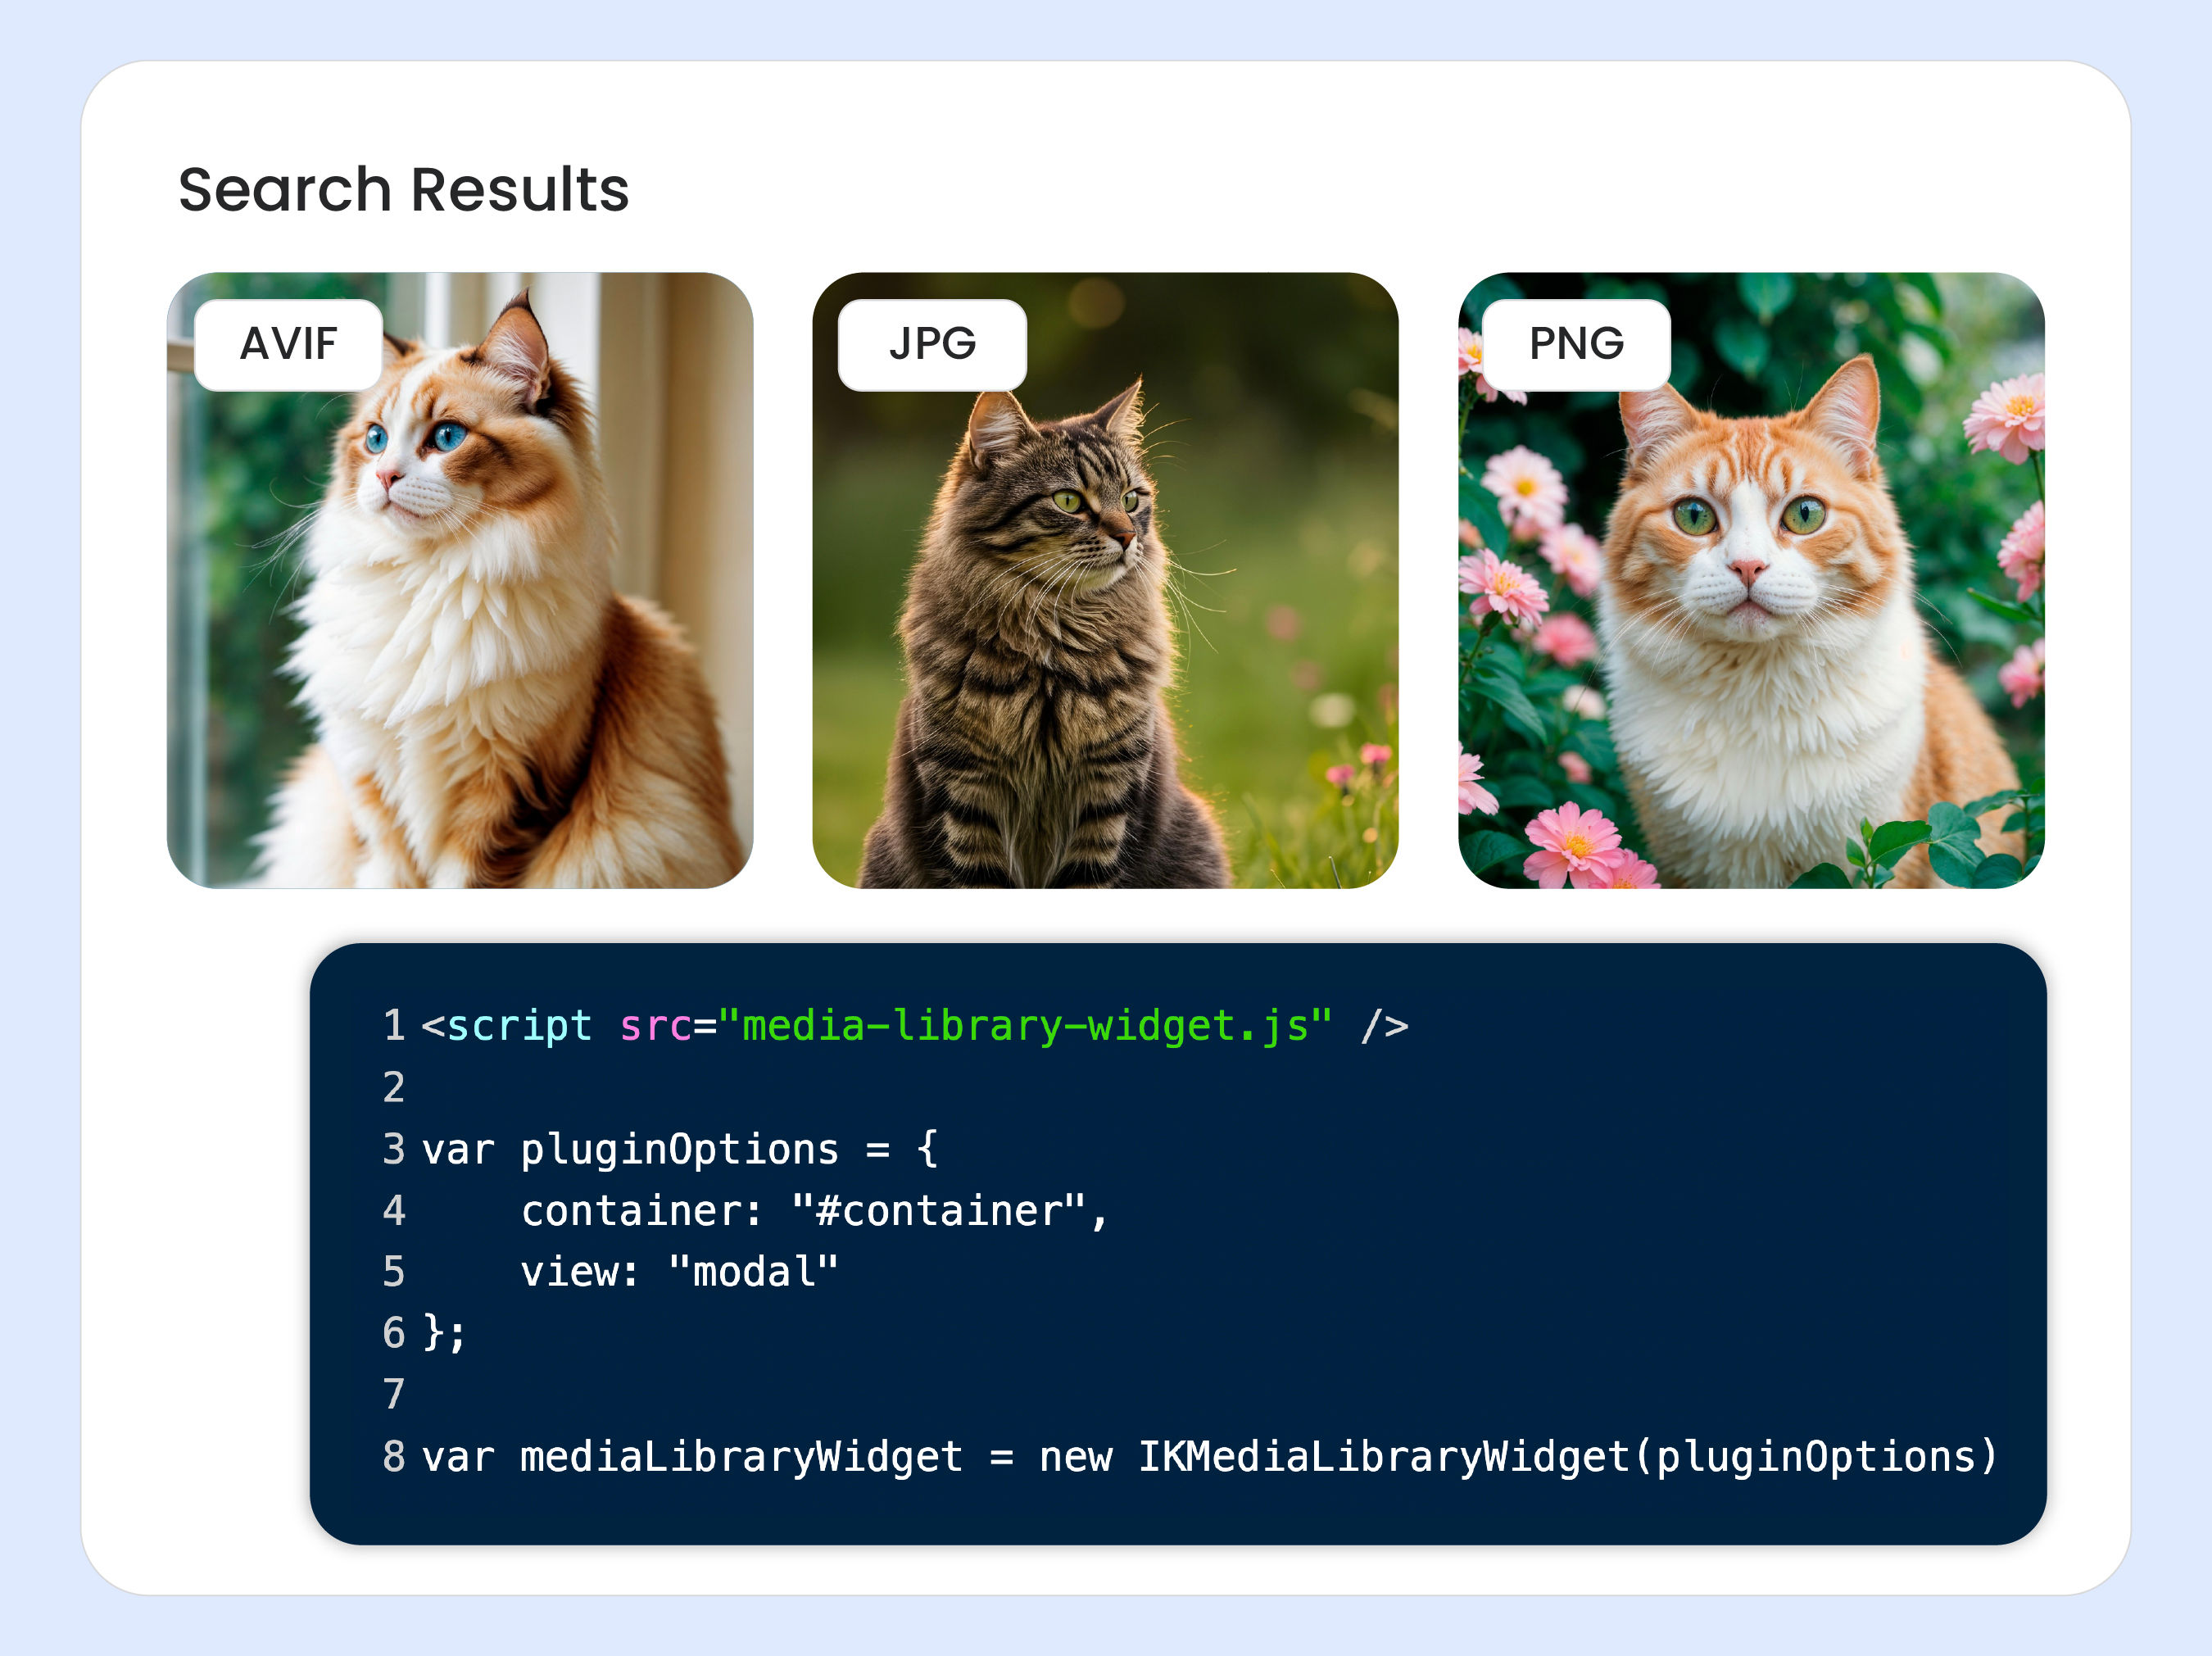
Embeddable widgets for simpler integration
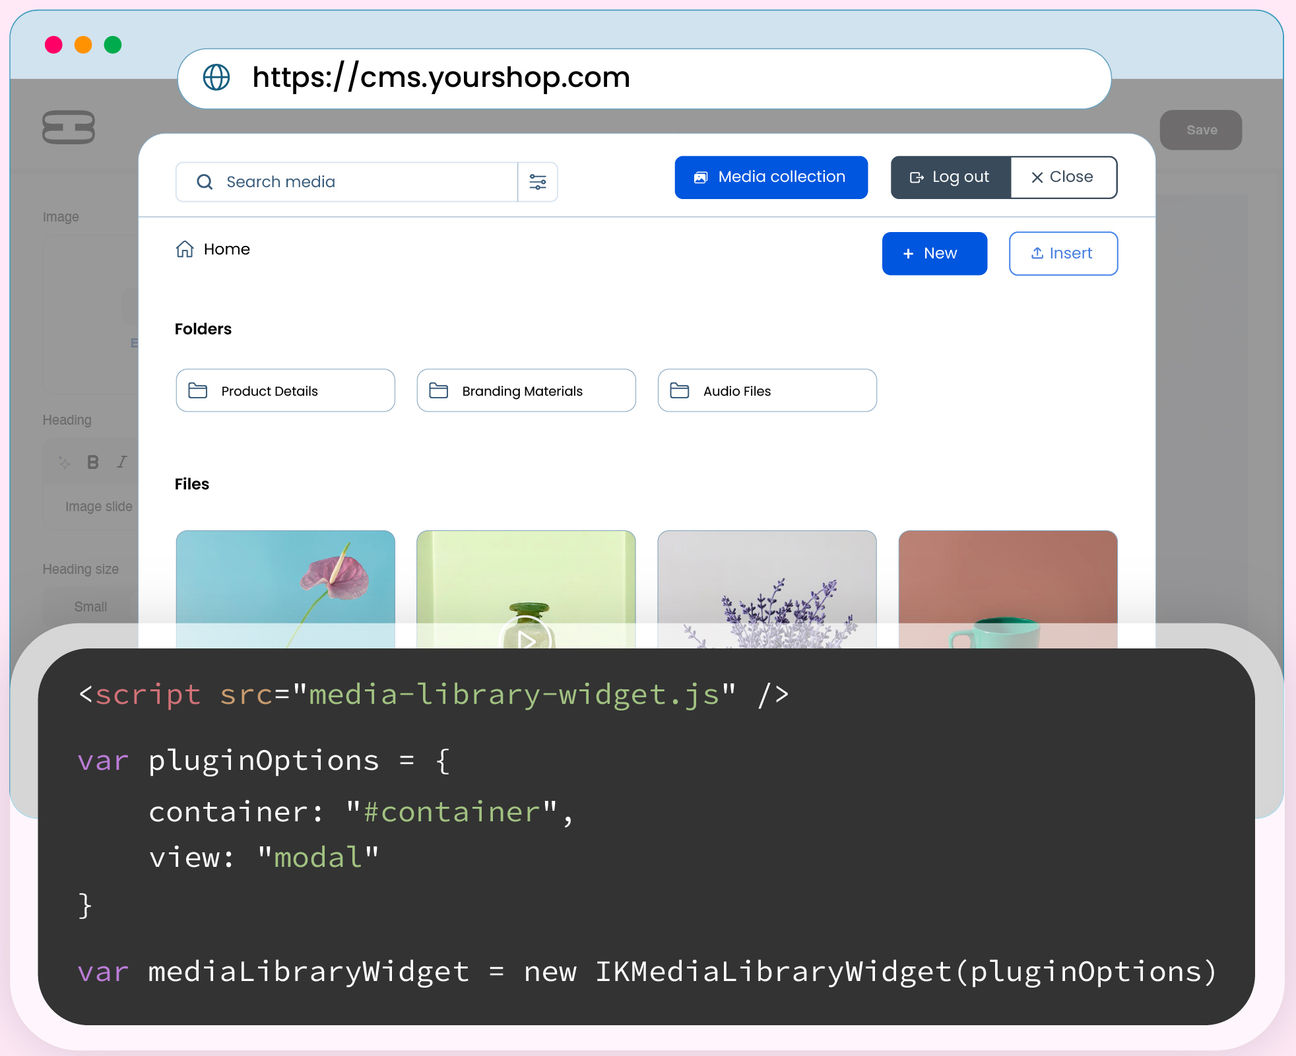
Skip complex custom builds. Use ready-to-deploy DAM widgets to bring asset management directly into your applications.
- Media library widget to bring full DAM browsing and search directly into your internal tools — allowing teams to select approved assets and insert them instantly without switching applications.
- Upload widget to securely import assets from anywhere to the ImageKit DAM
One DAM asset, multiple variants - in real-time
Transform, resize, optimize, and personalize assets in real time using simple URL-based APIs. Create multiple platform-specific variants from a single source asset in your DAM without duplicating files.
Deliver media globally with built-in CDN acceleration, streaming optimized content directly from your DAM.
SDKs & Integrations
Frequently Asked Questions
A headless Digital Asset Management system provides its functionality through APIs and SDKs, allowing your existing PIM, CMS, or commerce platform to serve as the interface. Teams get unified storage, search, and delivery—without needing to learn a new tool.
A traditional DAM is a destination: everyone logs into one fixed interface to upload, find, and download assets. A headless DAM decouples the asset repository from the interface and exposes it through APIs, so your CMS, commerce platform, apps, and AI agents can access and deliver assets directly, while teams keep working in the tools they already use.
No. Headless means the DAM isn't tied to a single predefined interface, not that it has none. ImageKit pairs complete APIs with a media library dashboard, embeddable widgets, desktop apps, and native integrations. With DAM MCP, teams can even manage assets by simply asking AI assistants like Claude or ChatGPT. Each team picks the interface that suits it, on the same headless foundation.
No. Enterprises benefit from its scale and governance, but growing teams managing assets across a CMS, storefront, and marketing tools gain just as much. With ImageKit, you can start on the free plan, integrate through SDKs or MCP in minutes, and scale without re-platforming.
A headless CMS manages structured content (text, pages, blog posts) and delivers it via API to any frontend. A headless DAM focuses on storing, organizing, transforming, and serving rich media like images, videos, and files, also via API.
Most teams use both: the DAM handles media management and transformations, while the CMS references those assets within broader content.
They're complementary rather than overlapping. A PIM manages structured product data like descriptions, attributes, and pricing, while a headless DAM manages the images and videos tied to those products. Linked by SKU or metadata, they keep product information and media consistent across every channel, and with MCP, an AI agent can work across both, pulling a SKU from your PIM and attaching the matching assets.
The main ones are upfront developer effort for API integration, disciplined governance (tagging, permissions, folder structure) as your library scales, and owning optimization and delivery performance across channels. ImageKit addresses all three: SDKs, widgets, and MCP cut integration work, path policies and AI tagging enforce governance, and real-time transformations over a global CDN handle delivery.
Use path policies to create JavaScript functions that run before uploads or DAM operations. Enforce naming conventions, validate file sizes, require specific metadata fields, protect critical folders from modifications, or automate AI extensions during upload—all without manual oversight. Path policies cascade automatically to subfolders, ensuring consistent governance across your entire asset library as you scale.
Yes. ImageKit hosts three MCP servers, and there's no separate charge to connect any of them.
- DevTools MCP needs no sign-in. Any AI assistant can use it to search the ImageKit docs and build transformation URLs for your account.
- DAM MCP and Admin MCP work with your ImageKit account, including the free plan. You sign in once, and the assistant works within your plan and your user permissions, just like the dashboard.
Any AI assistant or agent that supports remote MCP servers, including Claude Code, Claude Desktop, Claude.ai, ChatGPT (in developer mode), Cursor, VS Code Copilot, Windsurf, and Codex. For any assistant without MCP support, point it to the plain-text docs at imagekit.io/docs/llms-full.txt so it answers from the latest documentation.
There's nothing to host or run. Add the server URLs to your AI assistant:
- DAM:
https://imagekit.io/mcp/dam - Admin:
https://imagekit.io/mcp/admin - DevTools:
https://devtools-mcp.imagekit.io/mcp
The first time you connect to DAM or Admin, sign in to ImageKit and choose what the assistant is allowed to do. In IDEs, also install ImageKit skills with npx skills add imagekit-developer/skills --all so your agent uses the servers correctly. In Claude Code and Claude.ai, the ImageKit plugin bundles the skills and all three servers in one install. See Build with AI for step-by-step setup in each tool.