ImageKit provides easy-to-use URL-based transformation parameters to perform various AI transformations on images. These transformations are powered by AI models and can be used to perform tasks like background removal, drop shadow, retouching, upscaling, object-aware cropping, generating an image via a text prompt, generating variations of an image, etc.
For example, to remove the background from an image, you can use the tr=e-removedotbg transformation parameter in the URL. Here is an example URL:
https://ik.imagekit.io/ikmedia/blue-bmw.jpg?tr=e-removedotbg
Limitations and considerations
- Except
fo-face,fo-autoand object-aware cropping, all AI transformations are currently in beta. - AI transformations typically take longer to process compared to basic transformations. The response time can range from a few seconds to a minute, depending on the complexity of the transformation. If the transformation takes longer, ImageKit may return an intermediate HTML response with the message
The asset is currently being preparedand a200status code. In this case, a special response headeris-intermediate-response:trueis included. You can use this header to identify intermediate responses and handle them appropriately. - Only one such async operation will be allowed in a single transformation in a chain of transformations. If you want to apply multiple AI transformations, you can chain them together using a colon (:) separator.
tr:e-removedotbg,h-100:e-dropshadow- ✅ (e-dropshadow is separated by a colon)tr:e-removedotbg,h-200,e-dropshadow- ❌ (e-dropshadow is separated by a comma) - If a request fails due to any reason, the error response on the corresponding URL is cached for a short duration. You should wait for a few minutes before ImageKit accepts and initiates a new request on the same URL. Learn about error troubleshooting.
- Most of these transformations cannot be used inside layers, with the exception of
e-removedotbg, ande-dropshadow. - The outputs of AI transformations are cached forever to prevent redundant utilization of your extension credits. Purging the cache for a URL will still delete all cache entries for that URL. Also, changing any of the image settings via your dashboard (default quality, auto-format, device-based resize, auto-rotation, chroma subsampling, preserve metadata, PNG compression) may invalidate existing cache entries.
- The Restrict Unsigned URLs setting can be toggled on or off specifically for AI transformations. It will be turned off by default so you can easily try these transformations out. However, we strongly recommend turning it on for production use cases to prevent unauthorized access to your AI transformations.
Pricing
Using AI transformations consumes extension units. Different AI transformations consume different amounts of extension units as per your pricing plan.
You can access the full list of extensions and the extension units they consume here.
Maximum limit on extension usage
There is a maximum limit on how many extension units you can consume in a month. For free plans, the limit is 650 units. For paid plans, refer to the subscription details in the dashboard.
Background removal (e-removedotbg)
Remove the background from an image using the e-removedotbg transformation parameter.
You can use e-removedotbg inside image overlay layers in image requests.
Syntax: e-removedotbg
Here is an example URL.
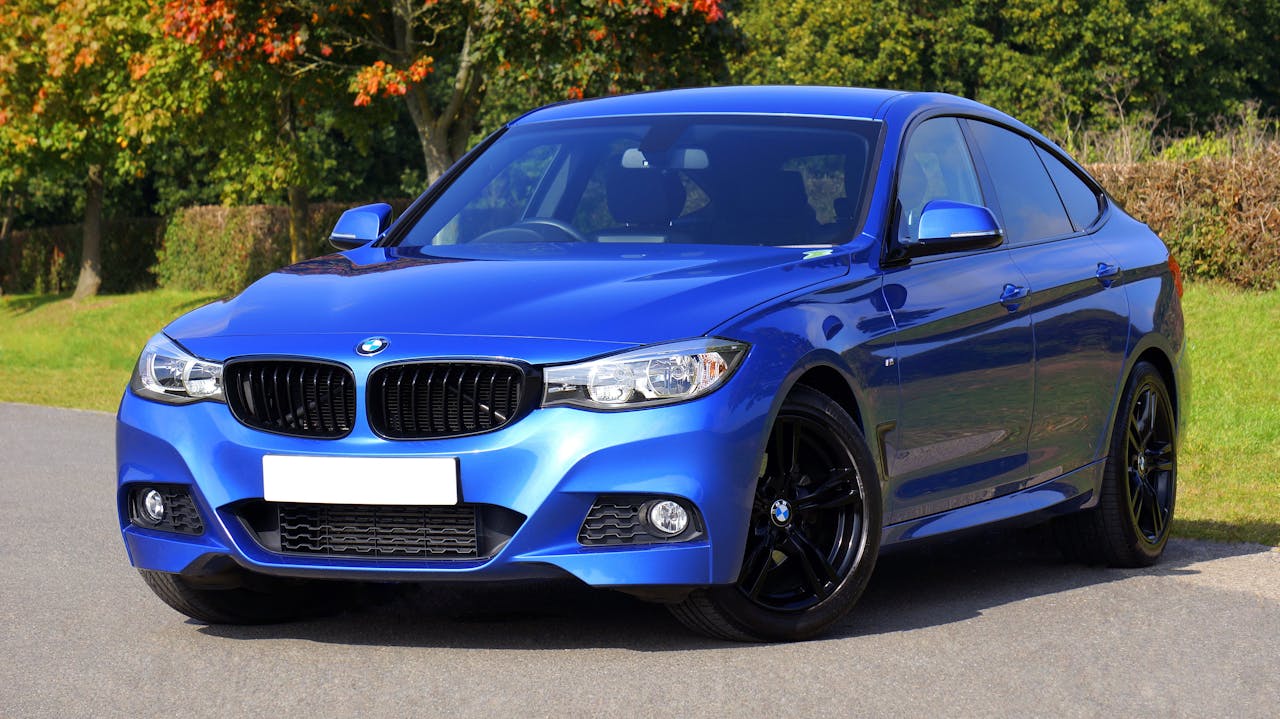
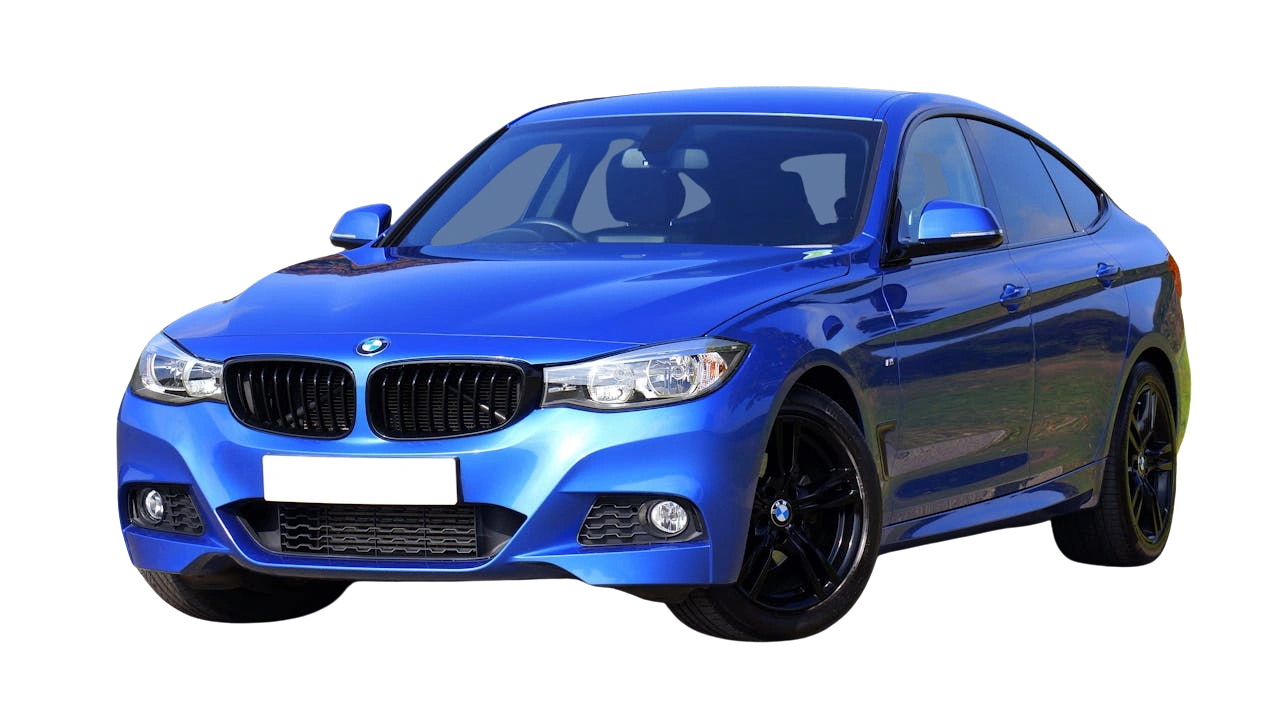
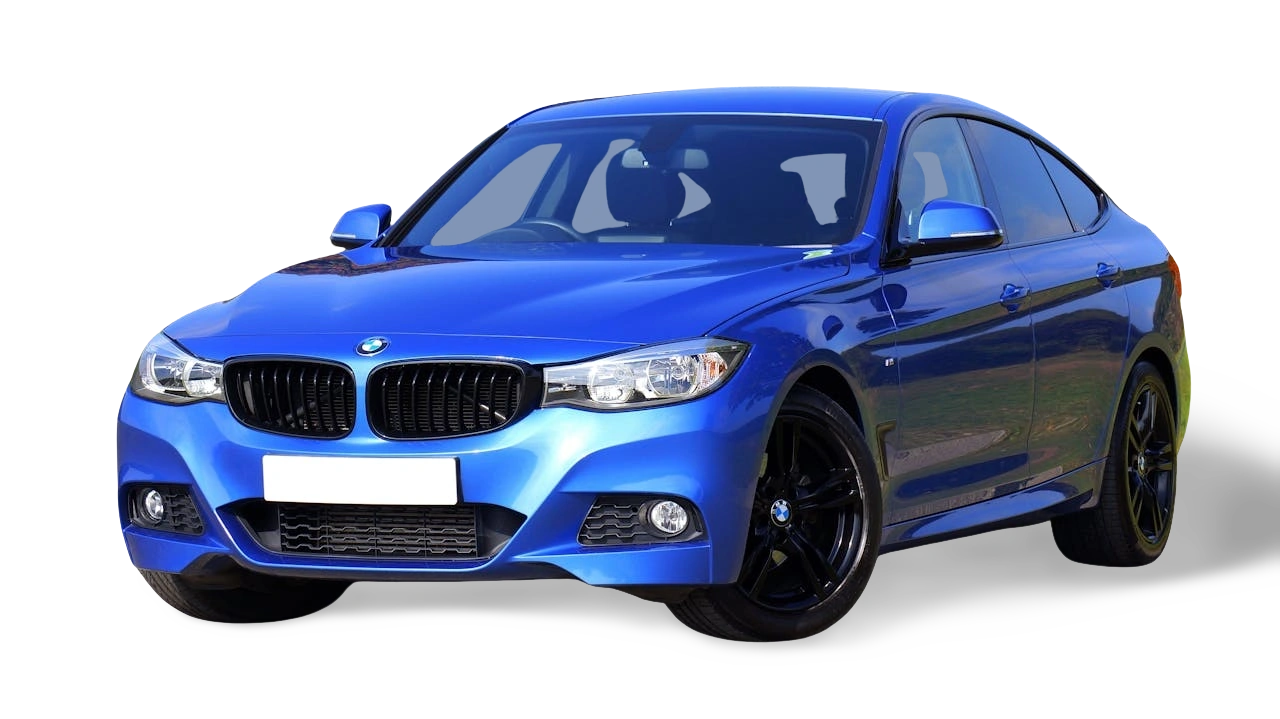
You can also use the e-removedotbg transformation parameter in chained transformations. For example, to add a drop shadow after removing the background, you can chain transformations like this:

ImageKit background removal (e-bgremove)
Remove the background from an image using the e-bgremove transformation parameter. Using e-bgremove is very cost efficient (around 1/10-th the price) compared to the e-removedotbg transformation.
You can use e-bgremove inside image overlay layers in image requests.
Syntax: e-bgremove
Here is an example URL.

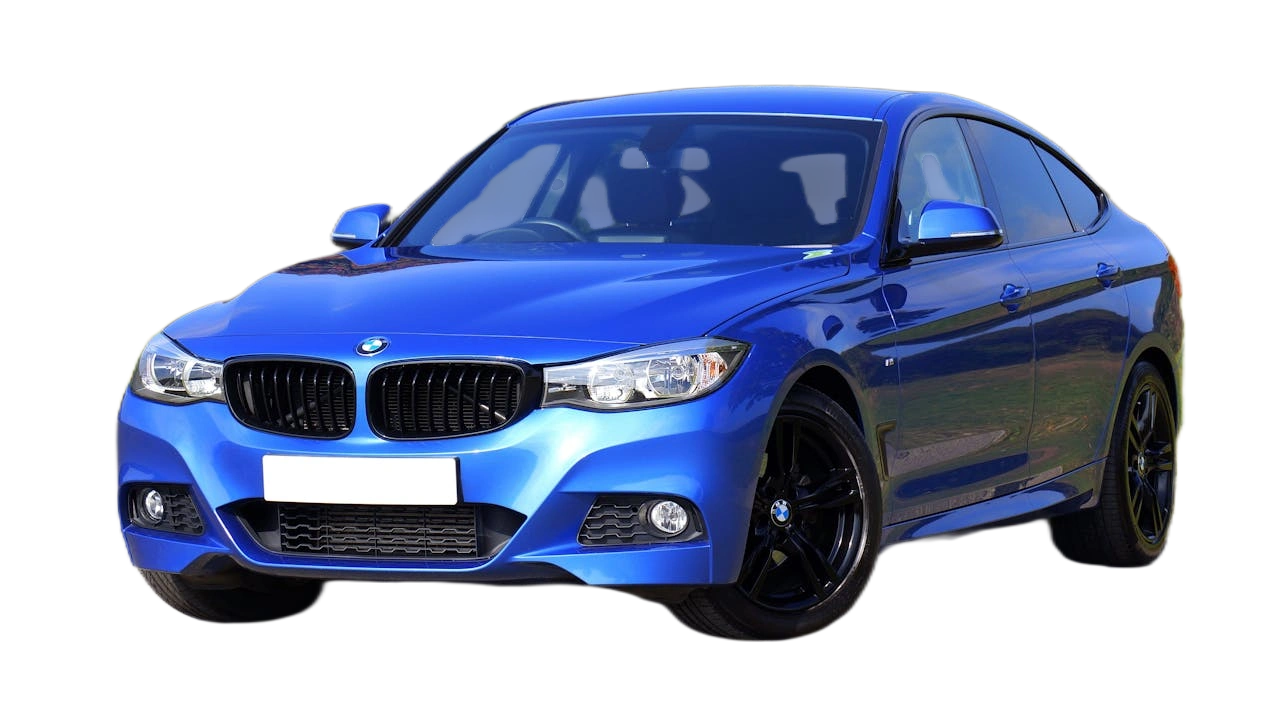
You can also use the e-bgremove transformation parameter in chained transformations. For example, to add a drop shadow after removing the background, you can chain transformations like this:

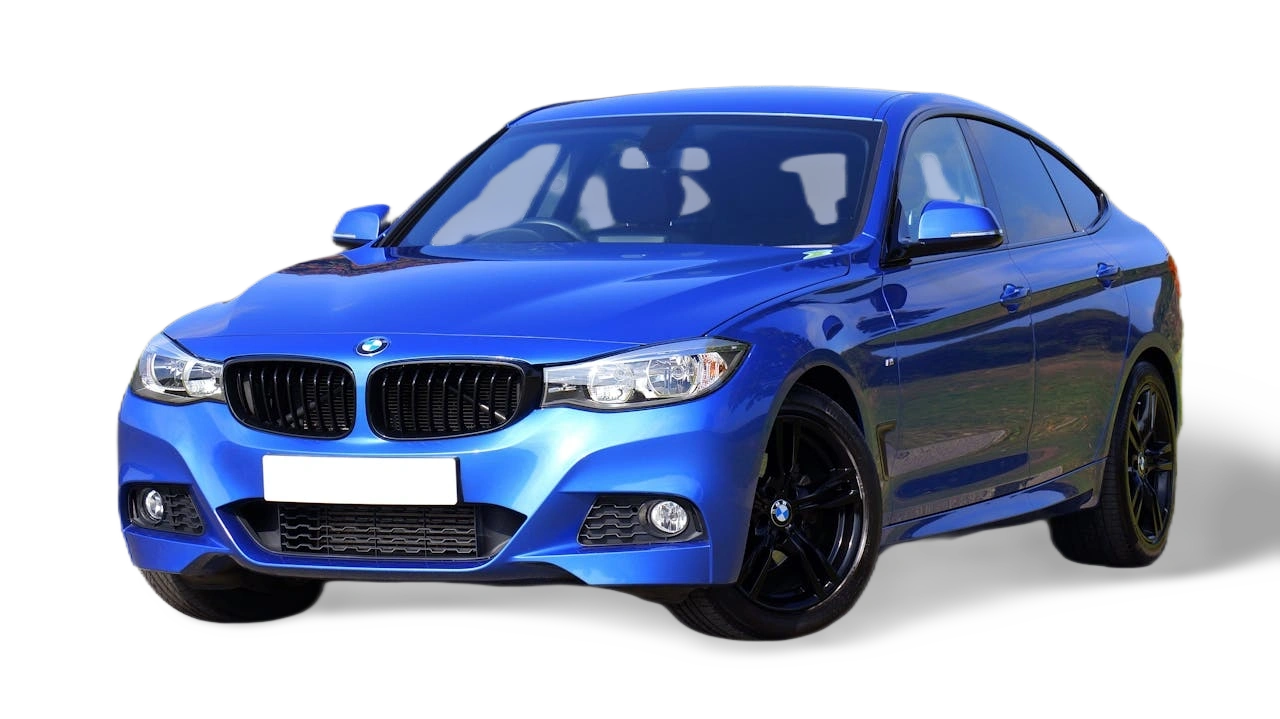
Change background (e-changebg)
Easily transform the background of an image by providing a descriptive text prompt.
Syntax - Use one of the following formats to apply the transformation:
- Direct Text Prompt:
e-changebg-prompt-${text} - Base64 URL-Encoded Text Prompt:
e-changebg-prompte-${urlencoded_base64_encoded_text}
Using a Text Prompt
To replace the background with a snowy scene add tr=e-changebg-prompt-snow road to the URL.
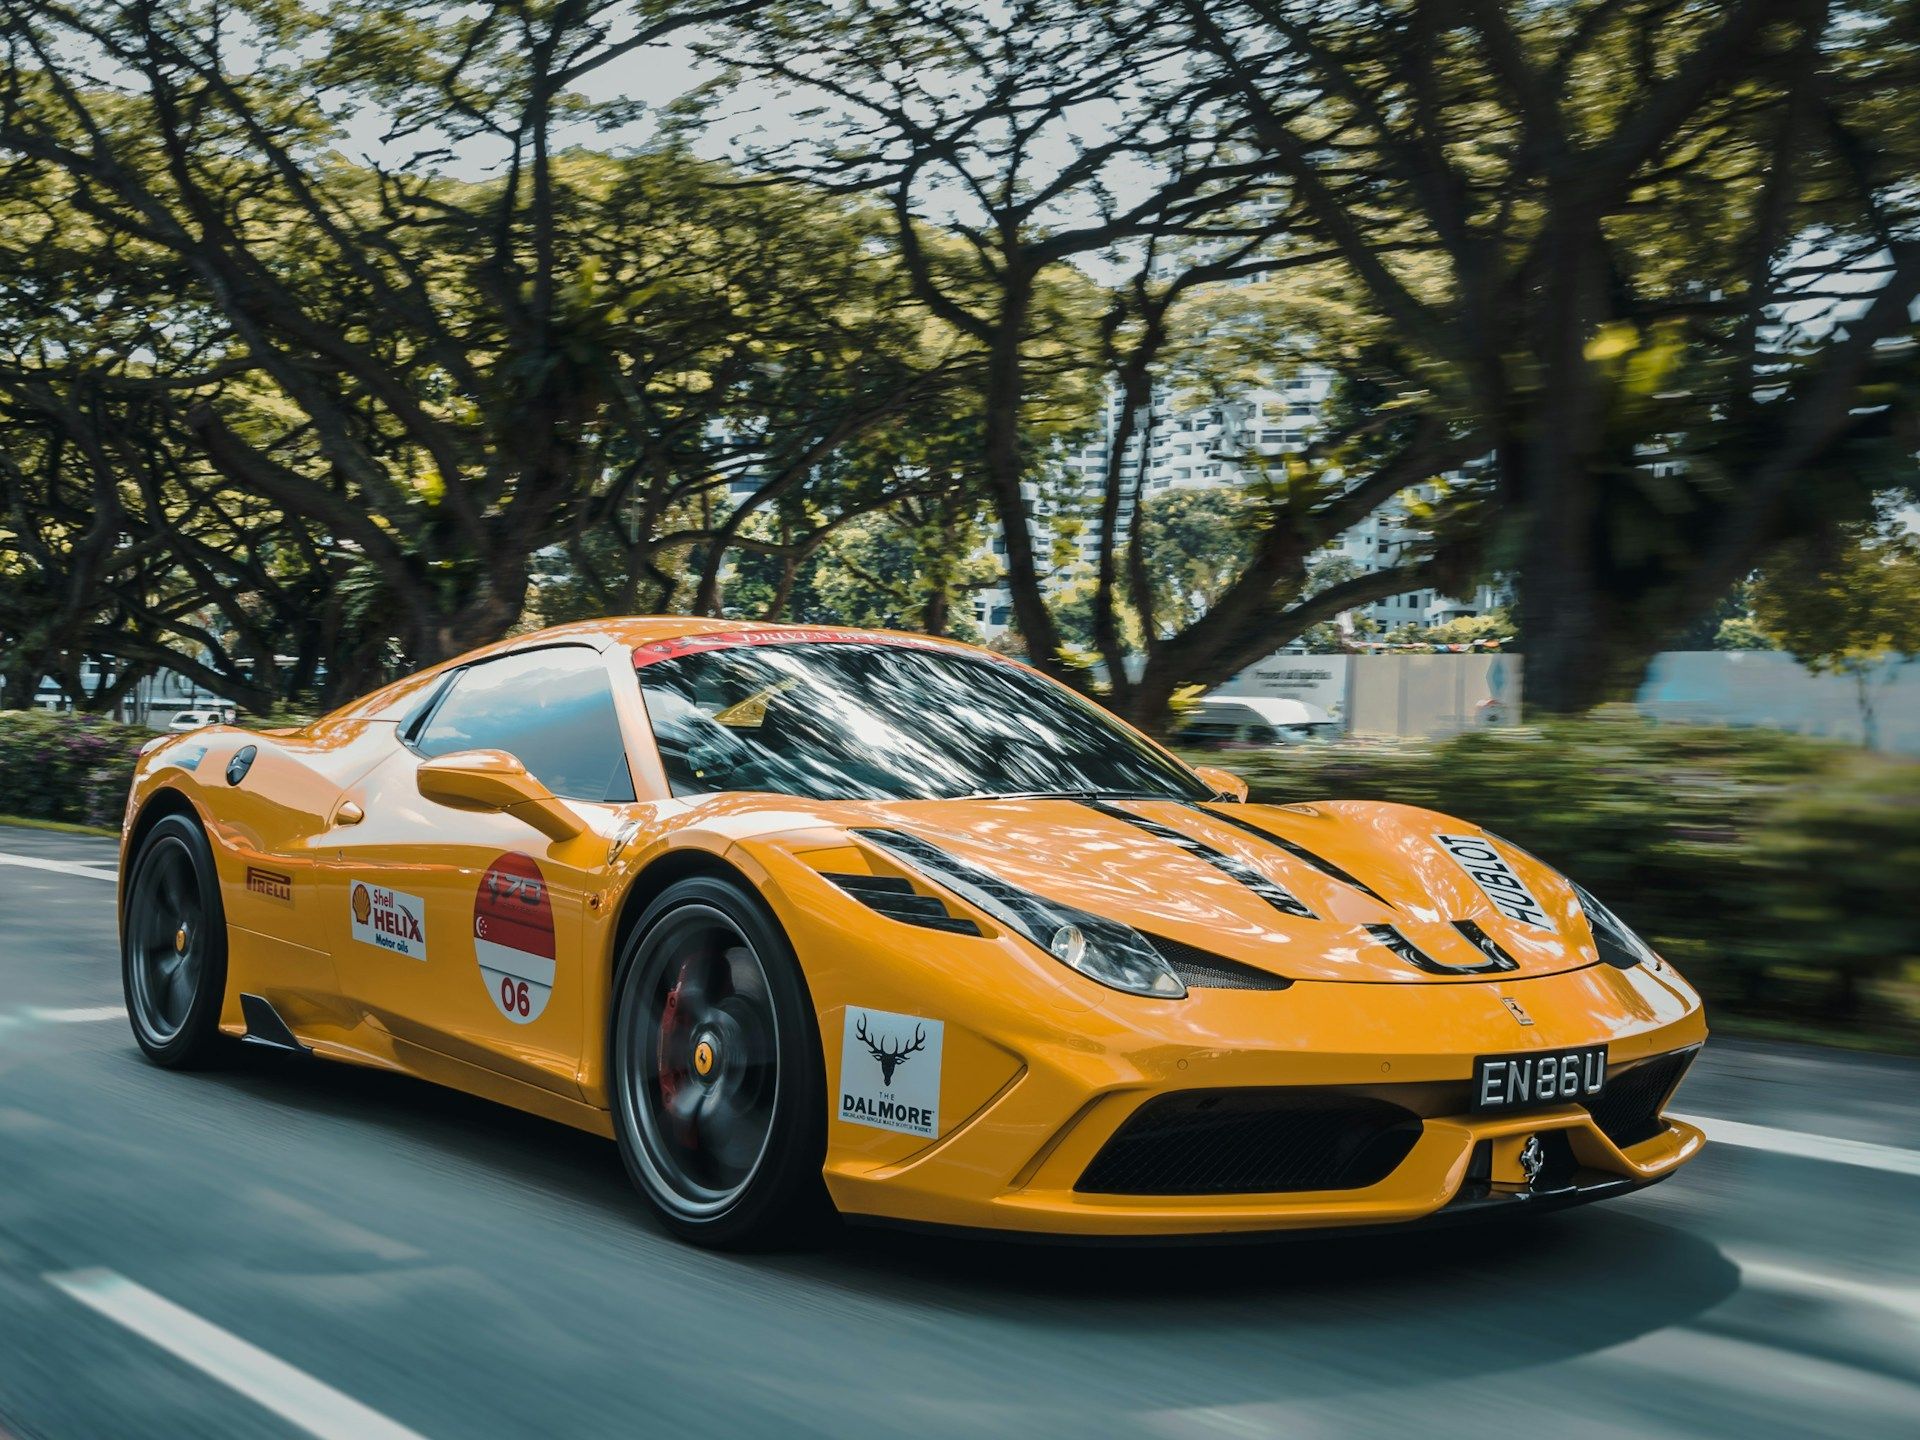

Using a Base64 URL-Encoded String
For more advanced usage, you can use a Base64 URL-encoded string to describe the background. For example, to set the background to a racing track:
cmFjaW5nIHRyYWNris the Base64 URL-encoded representation of the textracing track.

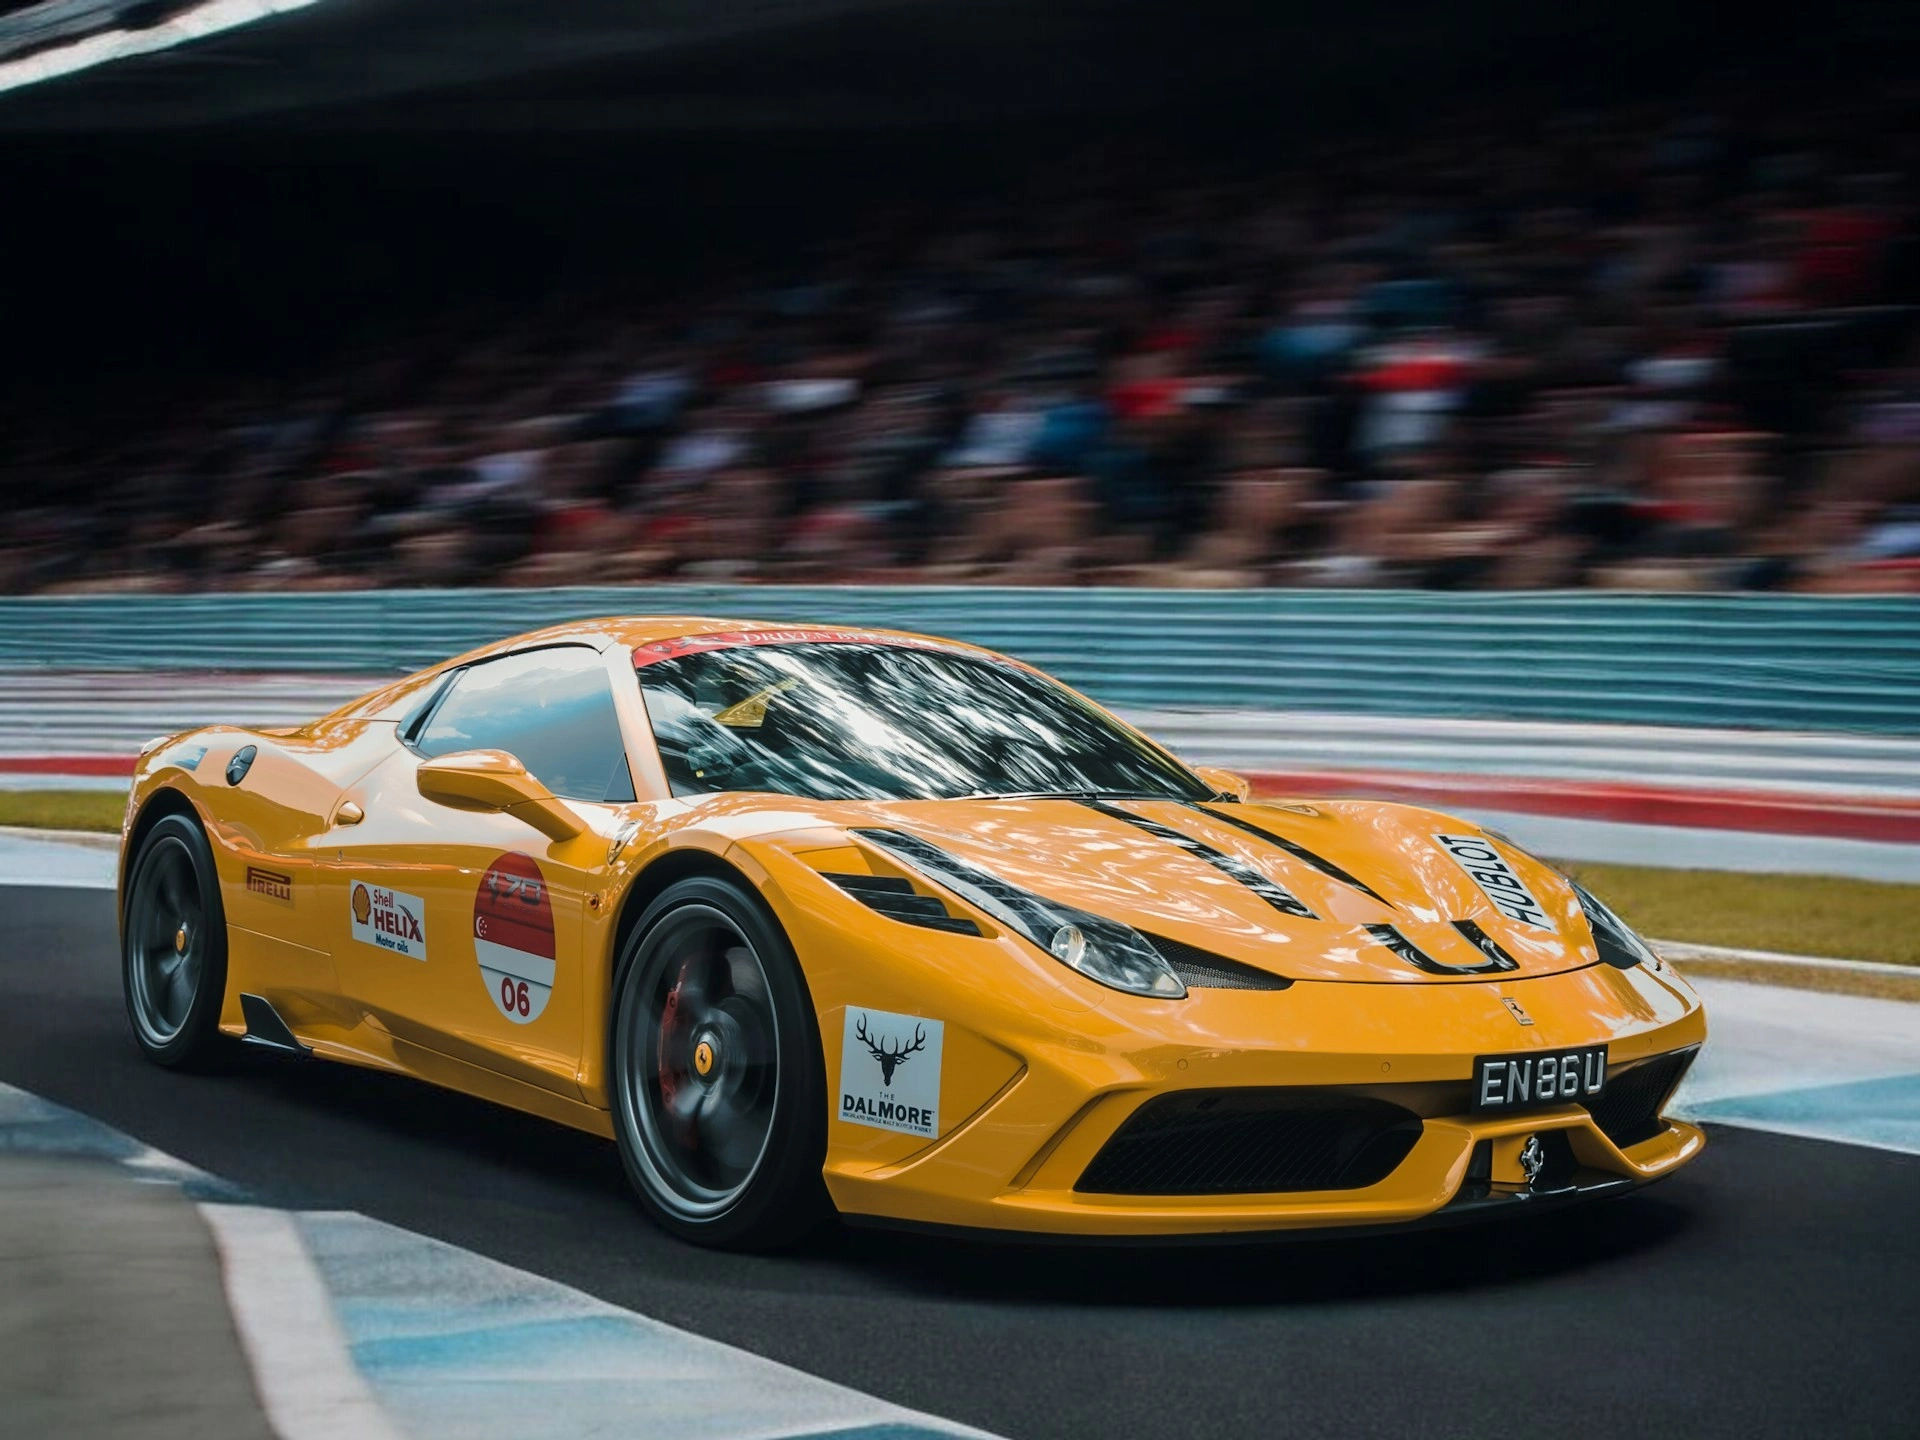
Note
We’ve partnered with Photoroom to bring you seamless background-changing capabilities.
Customizing Size and Position
You can also adjust the size and position of the subject in the foreground while changing the background. Here's an example using a shampoo bottle image.
Resizing and Repositioning
First, resize the image and place the subject in the top-right corner of the canvas with a neutral background color (#CCCCCC):Changing the Background
Next, replace the neutral background with a more engaging scene, like a bathroom, to enhance the visual appeal. Adde-changebg-prompt-bathroomto the URL.
Edit image (e-edit)
Modify the contents of an image using the e-edit transformation by providing a descriptive text prompt. The output image dimensions will be 1024x1024 if the input image is square. Otherwise, the output image dimensions will be one of 1536x1024 or 1024x1536, depending on which side is longer in the input image. To fit the image into one of those two exact dimensions, the shorter side of the input image will be padded with appropriate content seamlessly.
Syntax - Use one of the following formats to apply the transformation:
- Direct Text Prompt:
e-edit-prompt-${text} - Base64 URL-Encoded Text Prompt:
e-edit-prompte-${urlencoded_base64_encoded_text}
Using a text prompt
Let's add tr=e-edit-prompt-add some flair to this plain cake to this image of a cake:
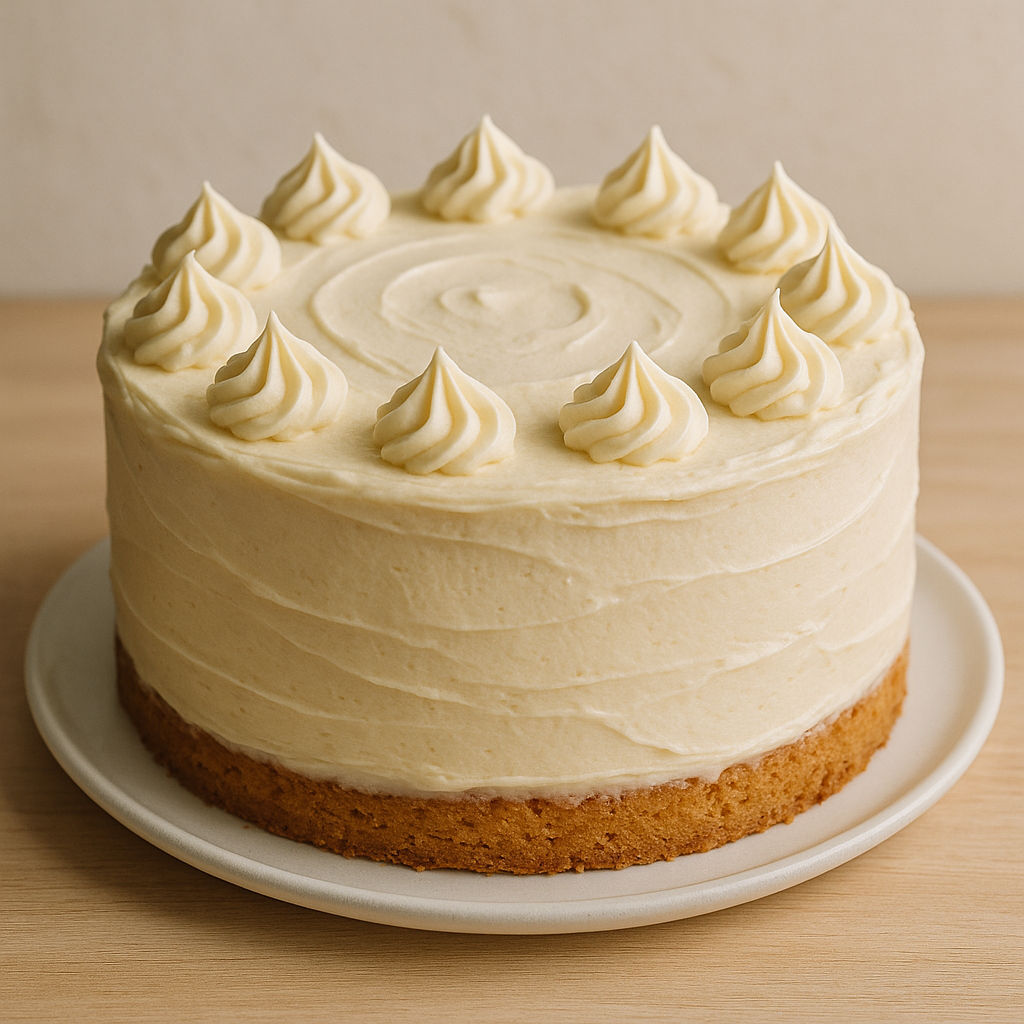

Using a base64-encoded text prompt
Use this method if your prompt text contains special characters like /, :, ,. Let's base64-encode the prompt "make the seawater blue" and add it to this image of a beach. Remember to also percent-encode the base64 string. The final transformation string will be tr=e-edit-prompte-bWFrZSB0aGUgc2Vhd2F0ZXIgYmx1ZQo%3D.


Generative fill (bg-genfill)
bg-genfill transformation extends an image beyond its original boundaries, allowing you to add new visual elements in an image while preserving the original image content.
Syntax: bg-genfill[:-prompt-${text}] or bg-genfill[:-prompte-${urlencoded_base64_encoded_text}]
It must be used with height, width, and either the pad_resize or pad_extract crop strategy.
Here is an example URL:
You can also provide a text prompt to control the generative fill.
https://ik.imagekit.io/ikmedia/footwear.jpg?tr=bg-genfill-prompt-flowers,w-1000,h-960,cm-pad_resize
AI drop shadow (e-dropshadow)
Add a drop shadow around an object in an image using the e-dropshadow transformation parameter. You can control the direction, elevation, and saturation of the light source.
Syntax: e-dropshadow[:-az-${0-360}][:_el-${0-90}][:_st-${0-100}]
az(Azimuth): This represents the angle of the light source. A value of0or360indicates the light is directly behind the object. The default value is215, which creates a natural shadow effect.el(Elevation): This refers to the elevation angle of the light source above the ground. The default value is45. Lowering this value results in a larger, more diffused shadow.st(Saturation): This controls the intensity of the shadow. Higher values produce a more intense or darker shadow. The default value for thestparameter is60.
Note
To apply a drop shadow, the image must have a transparent background. Use the e-removedotbg transformation to remove the background before adding the drop shadow with chained transformations. For example: tr=e-removedotbg:e-dropshadow.
Examples:
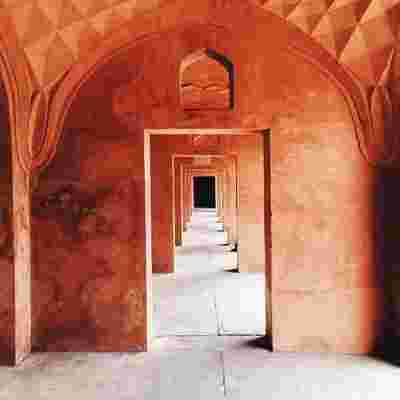
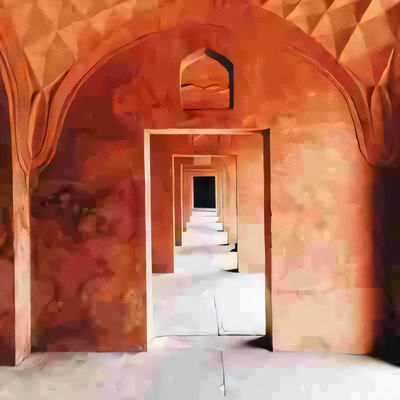
Retouch (e-retouch)
Improve the quality of an image using the e-retouch transformation parameter. The input image's resolution must be less than 16 MP.
Syntax: e-retouch
Here is an example URL.
Upscale (e-upscale)
Increase the resolution of an image using the e-upscale transformation parameter. The input image's resolution must be less than 16 MP. The output image's resolution will be 16 MP.
Syntax: e-upscale
Here is an example URL:
Generate image via text prompt
You can generate an image based on a text prompt. The text prompt can simply describe the image you want to generate.
Syntax: {URL_ENDPOINT}/ik-genimg[:-prompt-${text}]/...filepath.../filename.extension
Here filepath and filename.extension is up to you to decide. Once the image is generated, it will be accessible at the provided path. Changing the text prompt on the same path will not generate a new image. To generate another image, either purge the cache for this path, change the filepath or filename, or append a random query parameter to the URL.
Examples:
If you don't like the generated image, you can append a random query parameter to the URL or choose a different file path and name to generate a new image.
https://ik.imagekit.io/ikmedia/ik-genimg-prompt-A man eating a burger/gen-burger-image.jpg?v=3
You can use any other image transformation parameter along with ik-genimg to modify the generated image further.
For example, remove the background from the generated image and resize it down to 500px width:
Let's add a text overlay layer on the generated image:
Generate variations of an image (e-genvar)
If you have an image and want to generate variations of it, you can use the e-genvar transformation parameter. This will generate a new image with slight variations from the original image. The variations include changes in color, texture, and other visual elements. However, the model will try to preserve the structure and essence of the original image.
Syntax: e-genvar
Here is an example URL:
If you don't like the variation, you can append a random query parameter to the URL to generate another variation.
https://ik.imagekit.io/ikmedia/coffee-machine.jpg?tr=w-600,h-400:e-genvar&v=3
Object aware cropping
For more details, refer to the object-aware cropping documentation.
We can also crop out a particular object of interest out of multiple different objects present in an image.
URL - https://ik.imagekit.io/ikmedia/docs_images/features/image-transformations/catdog.jpeg?tr=fo-dog
The output is an image containing just the dog.
URL - https://ik.imagekit.io/ikmedia/docs_images/features/image-transformations/catdog.jpeg?tr=fo-cat
The output is an image containing just the cat.
The output is a square image containing the dog by adding extra width as required.
Face crop
Crop an image based on the detected face using the fo-face transformation parameter. Optionally, zoom in or out using the z parameter.
https://ik.imagekit.io/ikmedia/tr:w-150,h-150,fo-face/docs_images/examples/example_portrait_1.jpg
Smart crop
Automatically focus on the most important part of an image using the fo-auto transformation parameter.
https://ik.imagekit.io/ikmedia/tr:w-200,h-300,fo-auto/docs_images/examples/Smart_crop_example.jpg
This is what the final result looks like with smart crop auto mode. The main subject is right in the center of the final thumbnail.